



Vibe-coding a Mac app that watches AI services, with Antigravity and Gemini 3.7 Flash
My AI just died on me ...
LLM providers go down a lot these days. I thought it was just me, but no. More than once I have had Claude Code open, sat there wondering why nothing was working, and only later thought to check status.claude.com, where it turned out there had been an incident for several minutes already. There is nothing more infuriating in the middle of a work session. API Error, 529 Overloaded ... and it is not like I pay a small amount for this.
Then a thought hit me. What if, before I even open Claude Code, something on my Mac had already pulled in the status pages of the AI providers and was showing them to me? Something in that little strip at the top of the screen (I did not even know what it is called, so let me just call it the status bar). Click it, and it shows me the health of the AI services I subscribe to, including any ongoing incidents. I subscribe to several, so if one of them is down, I could just use another. That seemed useful.
So let's vibe-code it. My way.
I know almost nothing about building Mac apps.
I have been a backend developer basically since birth (?). Team projects in university, side projects at the startup club, freelance contract work, and my work today: I have always called myself a backend developer, and I have barely done any client-side work. It is only recently that I started doing React and Next.js at all, and only with an AI beside me. Mac apps are even further away. The one and only one I ever built was a box-office iOS app when I was twenty two. The person writing this, the person who supposedly knows how to code, is no different from you here. You might actually be better at client-side work than I am.
But I figured AI breaks that wall. I still believe AI is trash in, trash out, but what can you do. The only way to find out whether something is trash is to build it. Let's start!
I will use Antigravity as my coding agent.
You can install the Antigravity CLI from the official page: https://antigravity.google/product/antigravity-cli
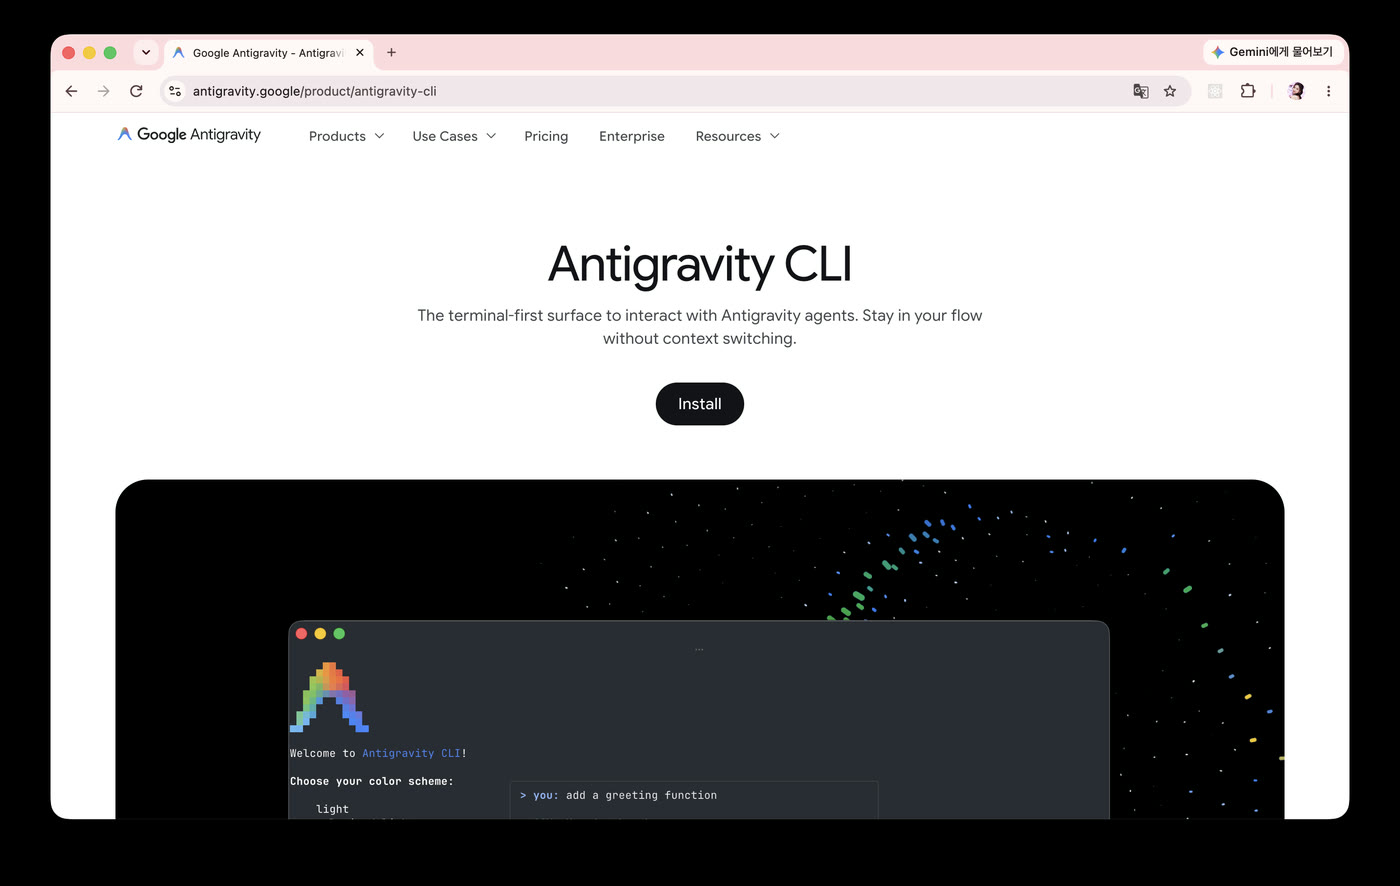
If you cannot be bothered to go there ... and you are on a Mac.
curl -fsSL https://antigravity.google/cli/install.sh | bashUse that command. I already had it installed, but for this blog post I deleted it and reinstalled from scratch. That is .. the author's responsibility, after all. If you see the screen below, it worked.
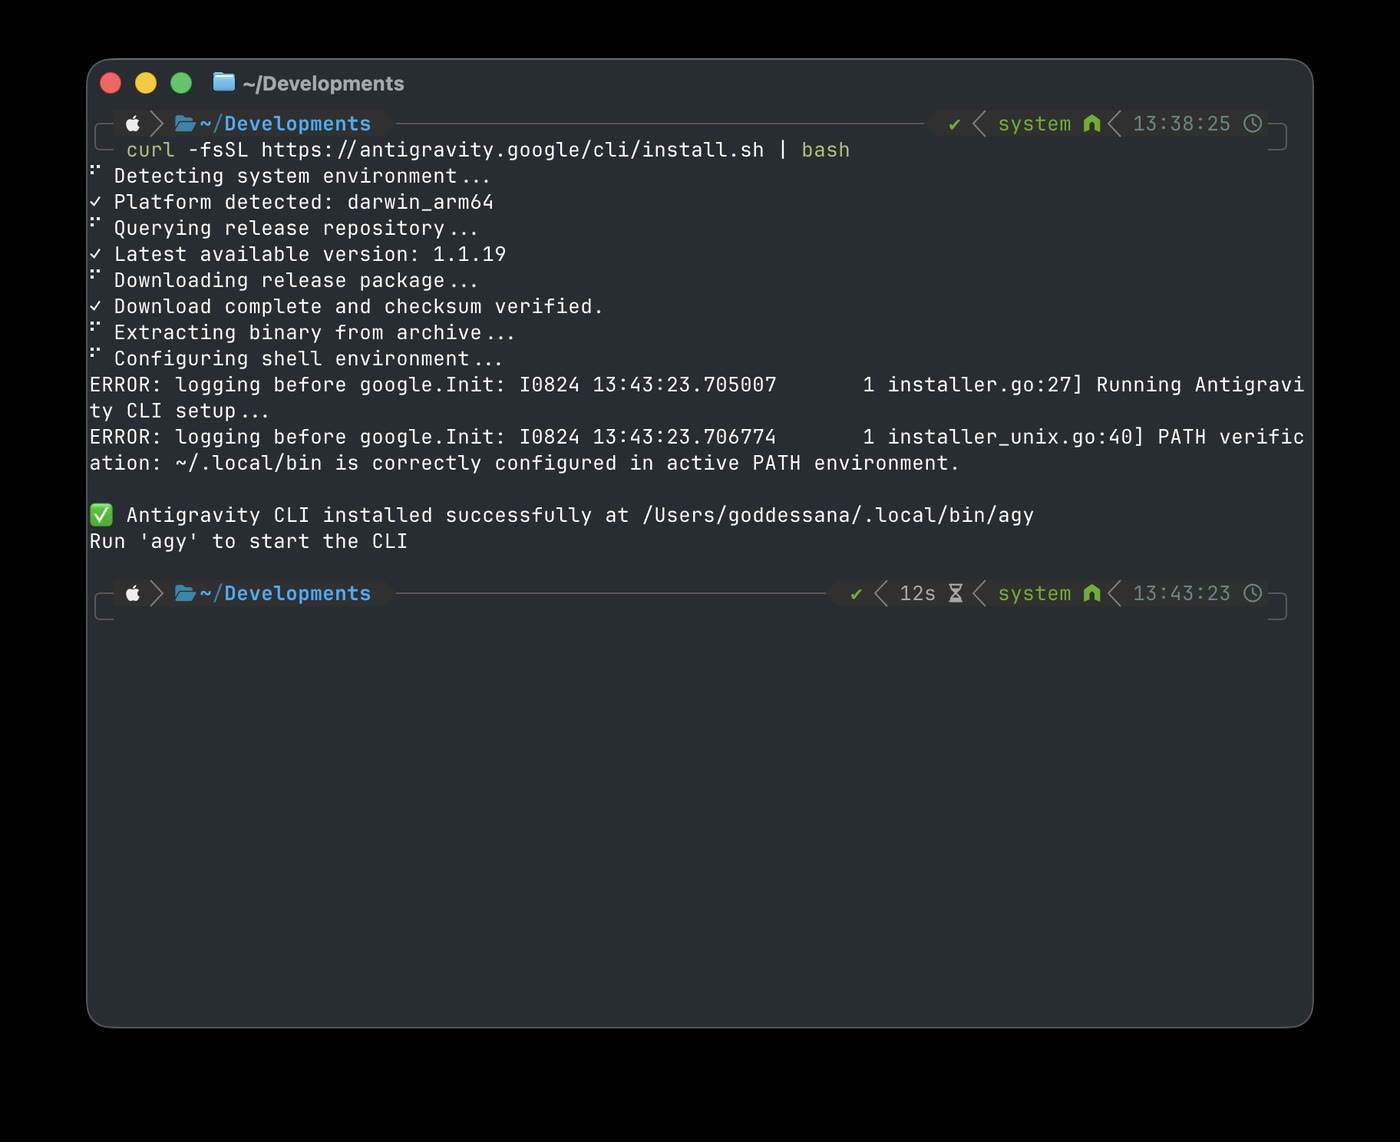
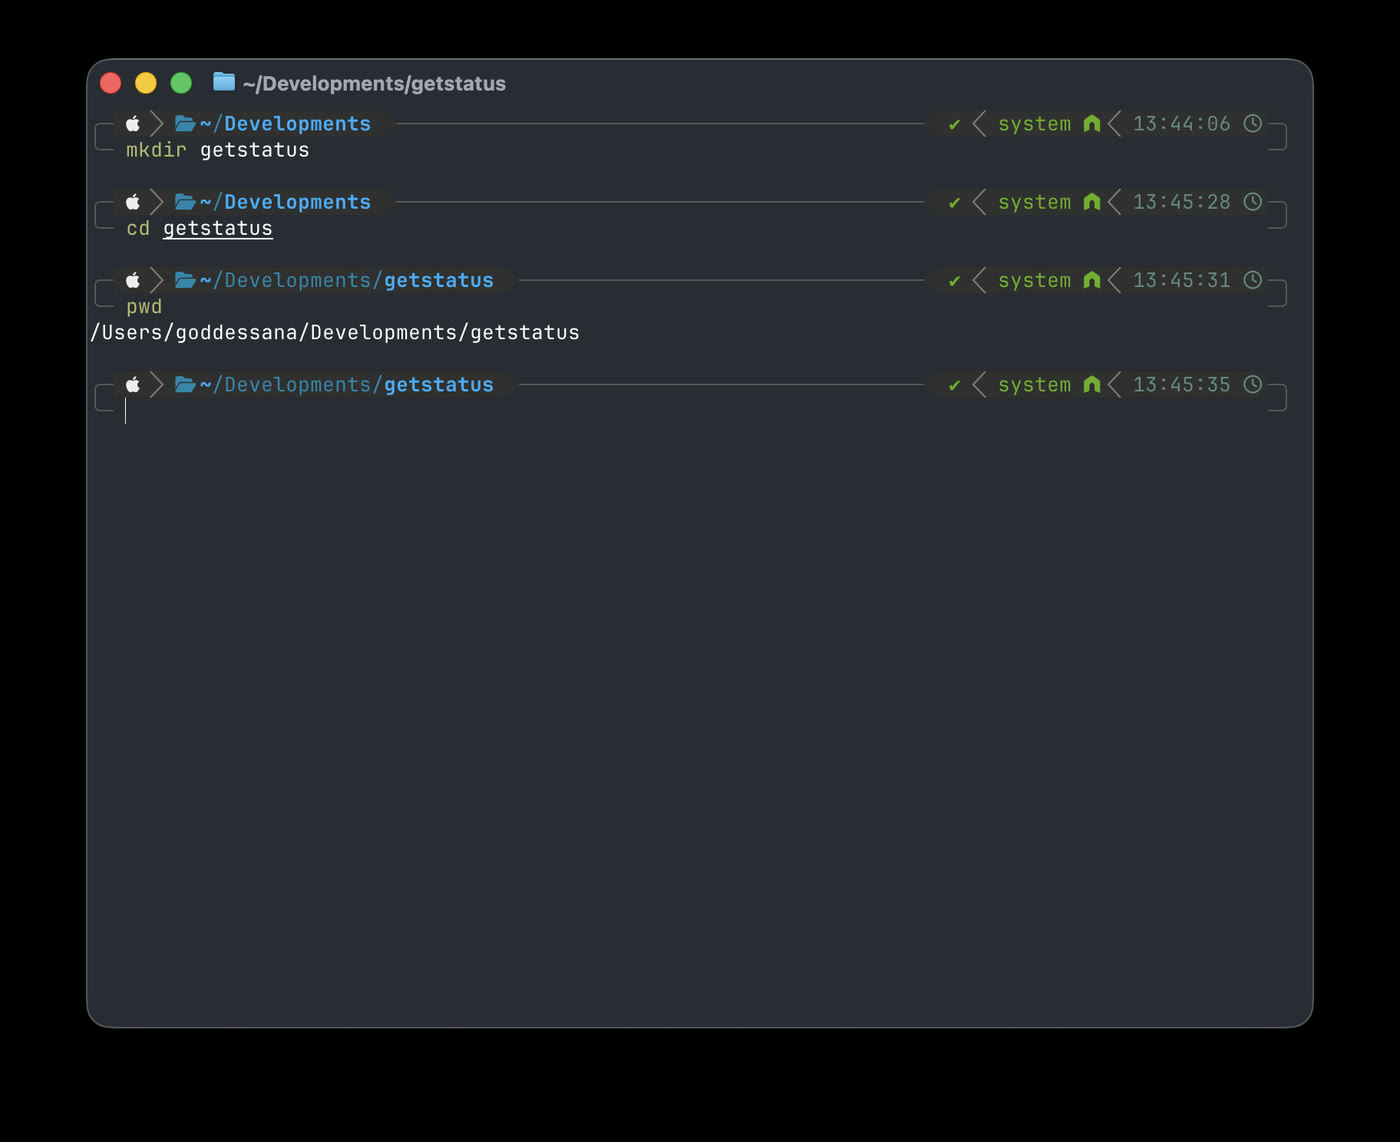
Next, let's make a folder to work in and move into it. I kept it simple and named the app 'getstatus'.
mkdir getstatus # type this and press enter.
cd getstatus # type this and press enter.
Once you have run those, the pwd command will show that your current folder is getstatus, like below.
Almost there.
Now let's start Antigravity.
Just type agy into the terminal.
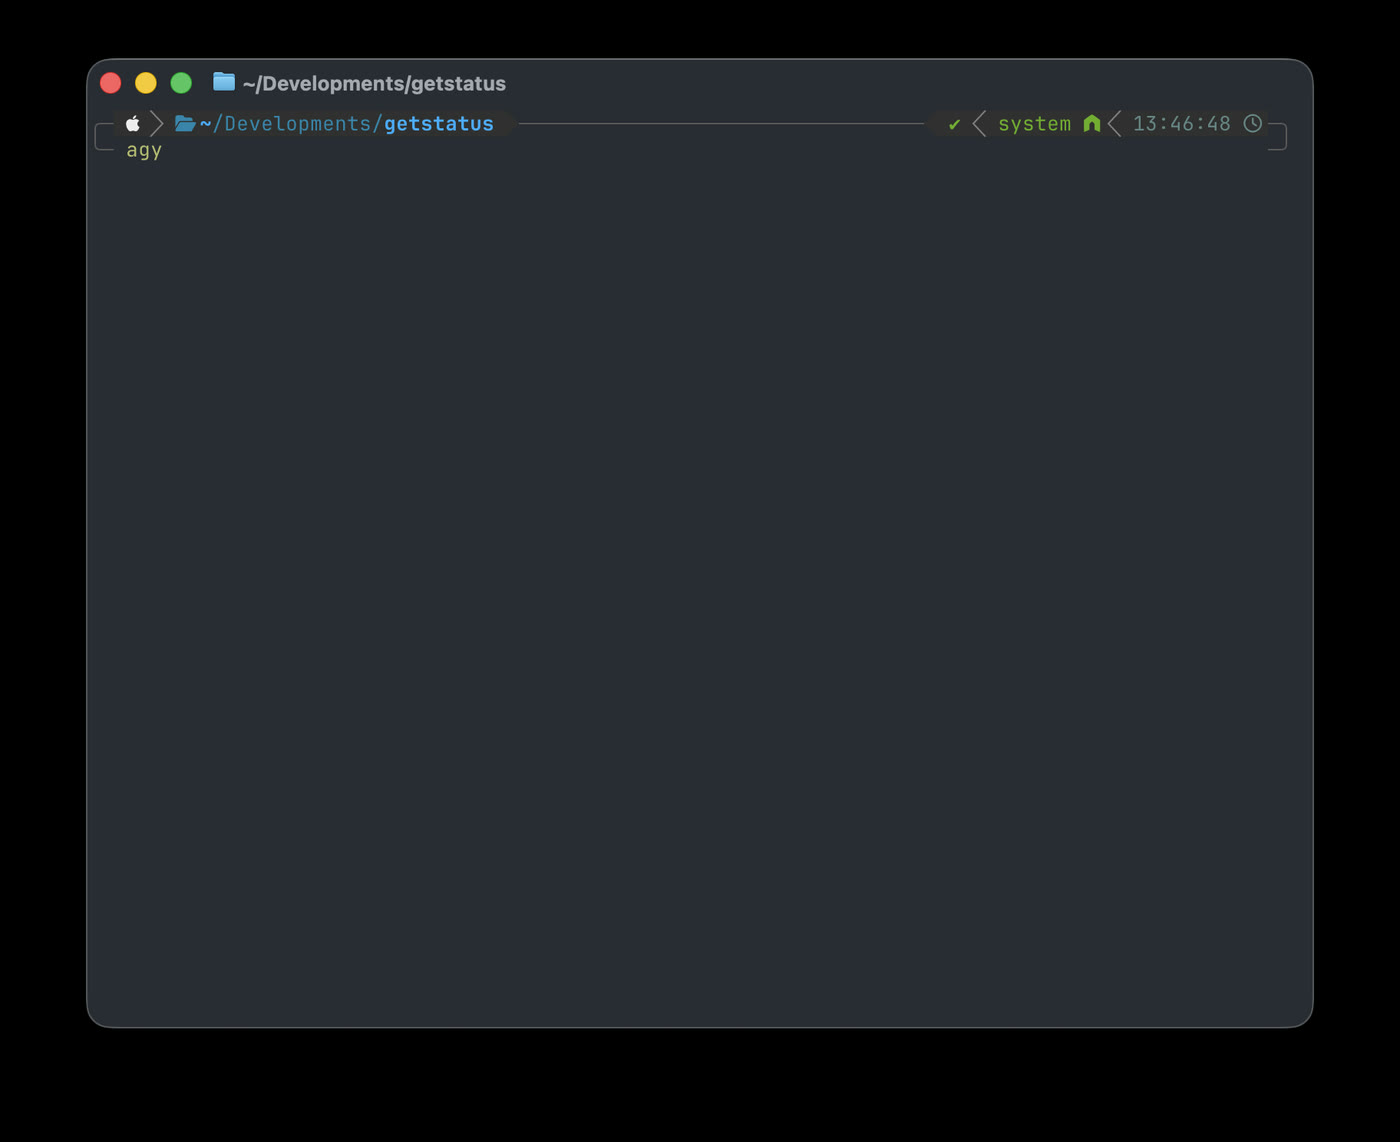
You should see a screen like this.
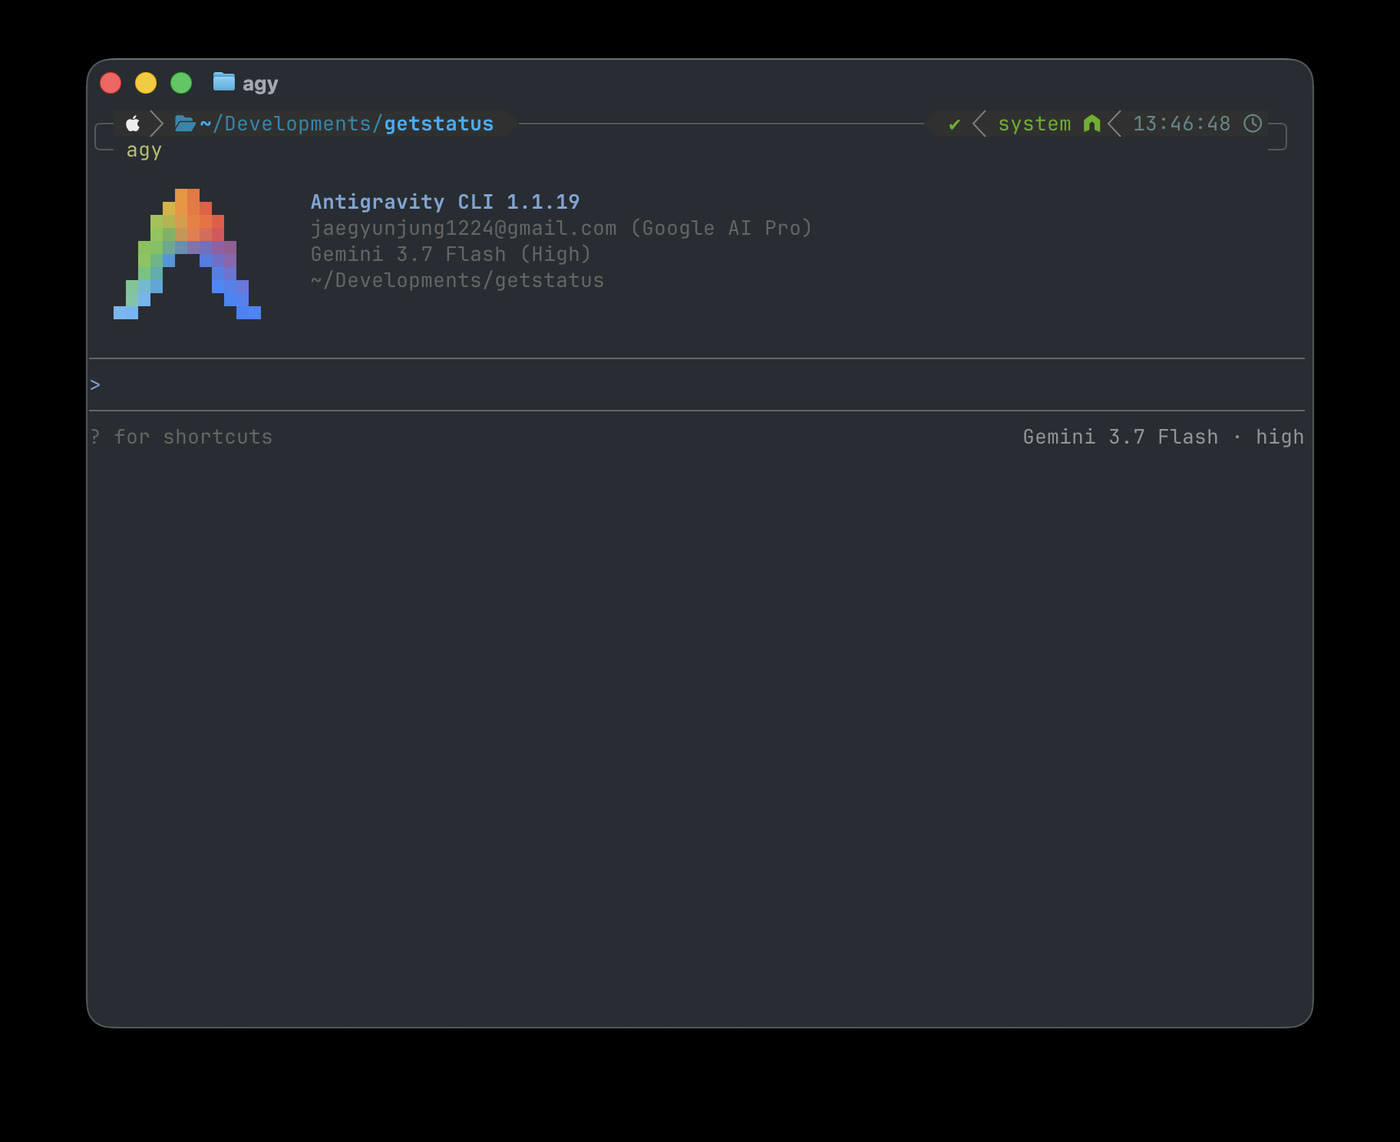
This screen may ask you to log in. Open a browser window and log in there.
Good. Now press /exit to close the Antigravity CLI,
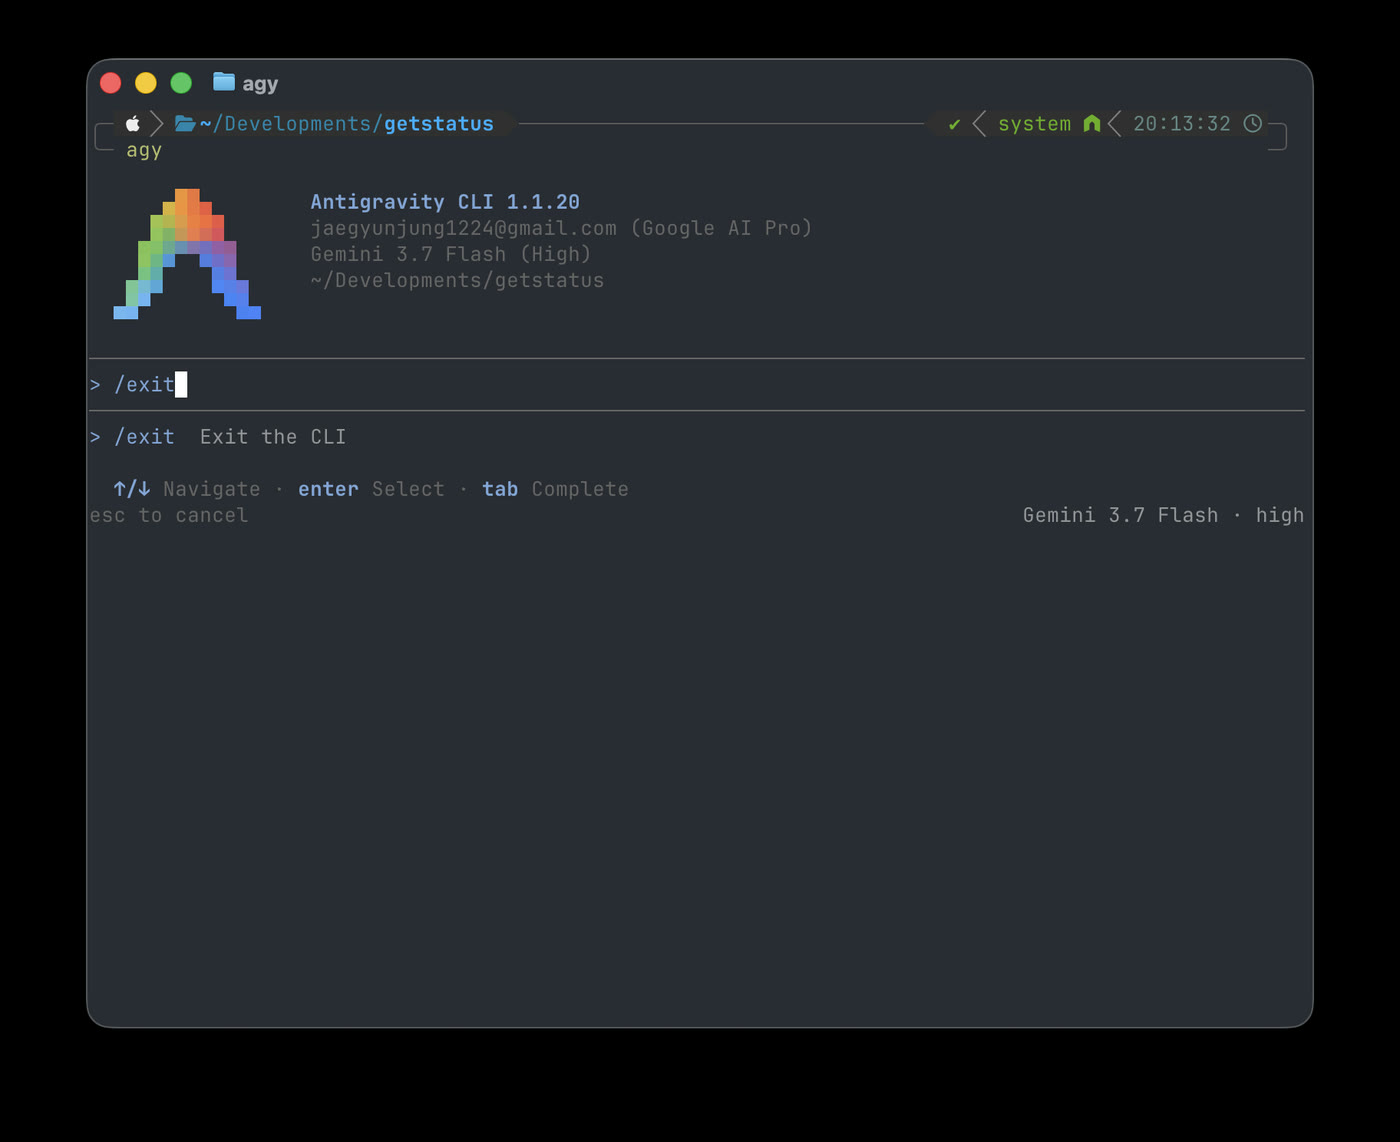
and run the command below to install the tuckit plugin.
agy plugin install https://github.com/tuck-it/tuckit-plugins/tree/main/plugins/antigravity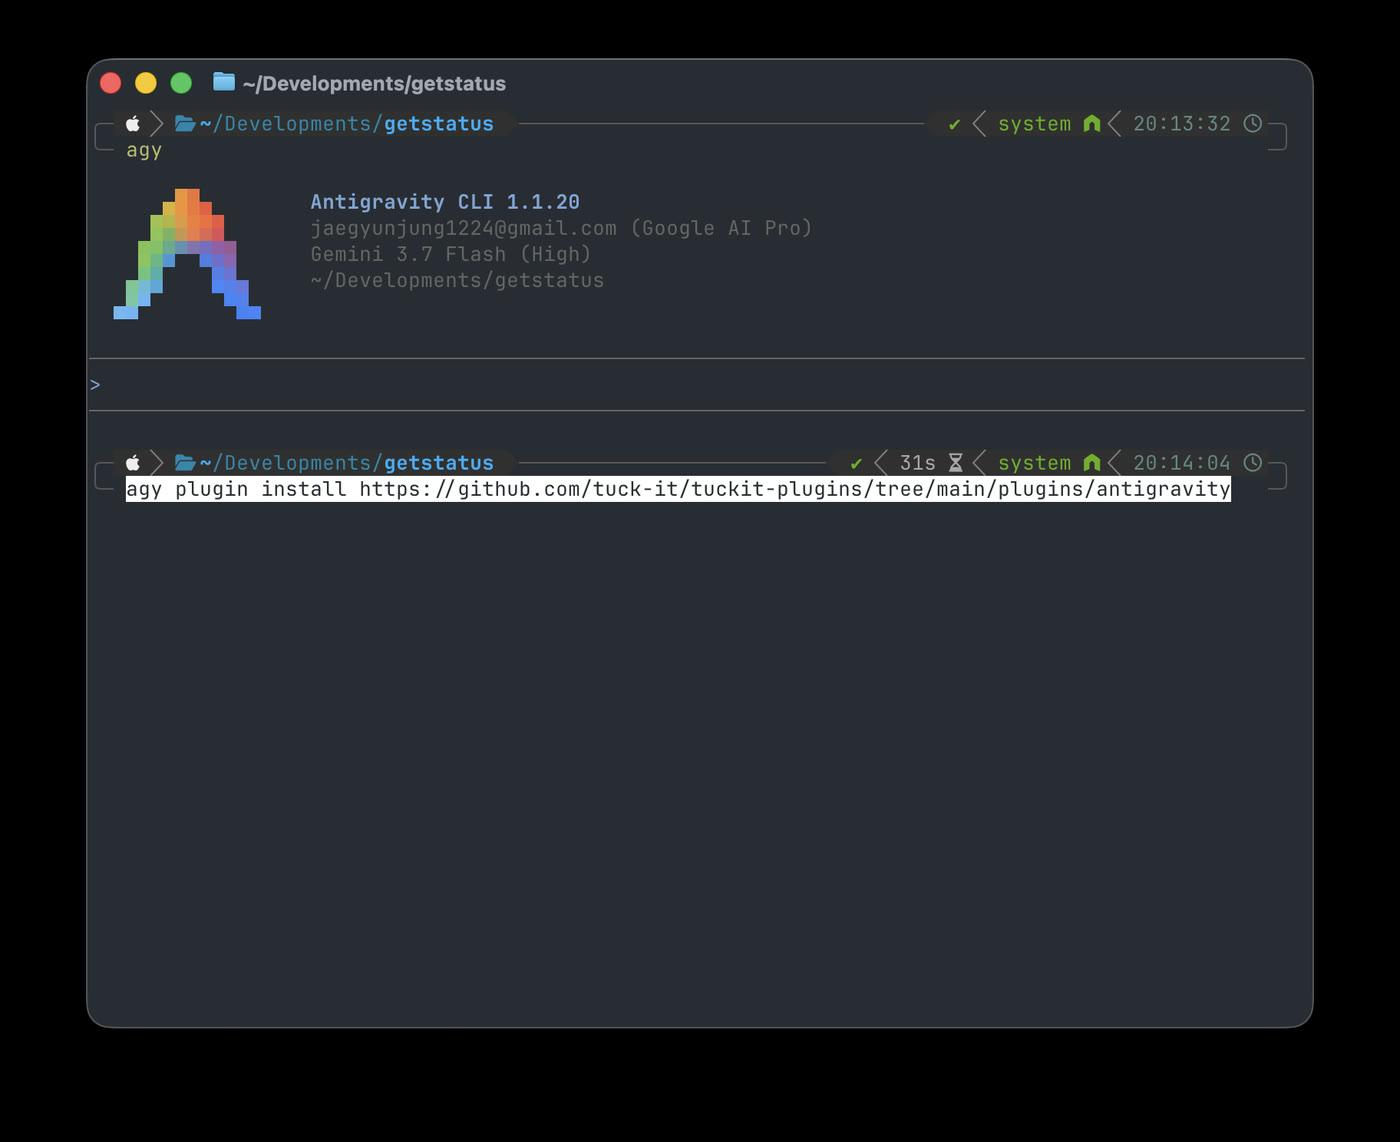
Press enter, and it should install cleanly, like this.
![The install result: tuckit marked [ok], with 16 skills, 1 mcpServer and 2 hooks processed](/blog/llm-status-bar-app/8.jpg)
Easy, right? Typing into a terminal and reading what comes back is nothing special. You are just telling the computer what you want, in a language it understands. It only looks scary because it is a black window full of text that hackers seem to use in films.
Now type agy again to start it back up. Then type /mcp.
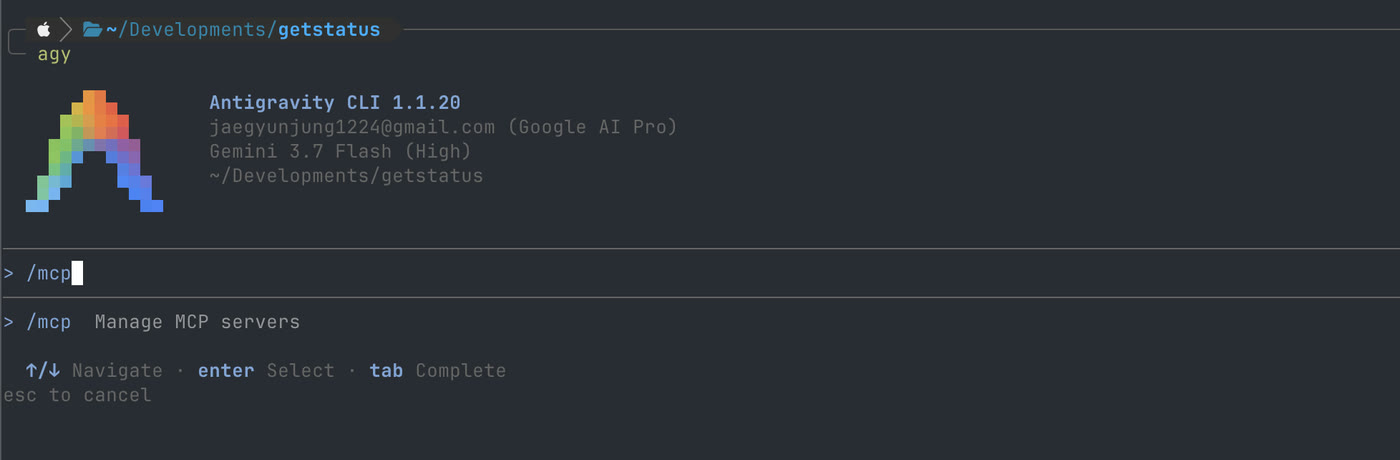
![The MCP Servers list, with a red X next to tuckit and 'Unauthorized [Auth Needed]'](/blog/llm-status-bar-app/10.jpg)
There is an X mark. It is nothing, really. Use the arrow keys to select tuckit, press enter, then choose authenticate.
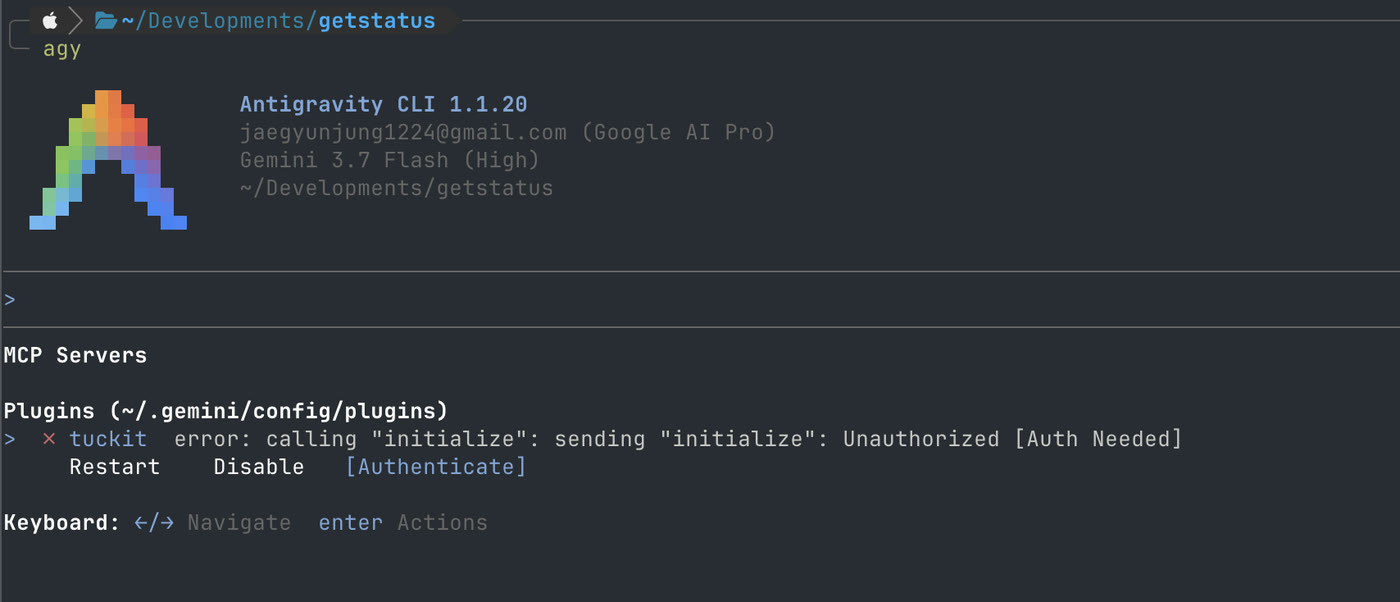
A browser window like the one below will open. Go ahead and sign up. Being a developer, I will use GitHub.
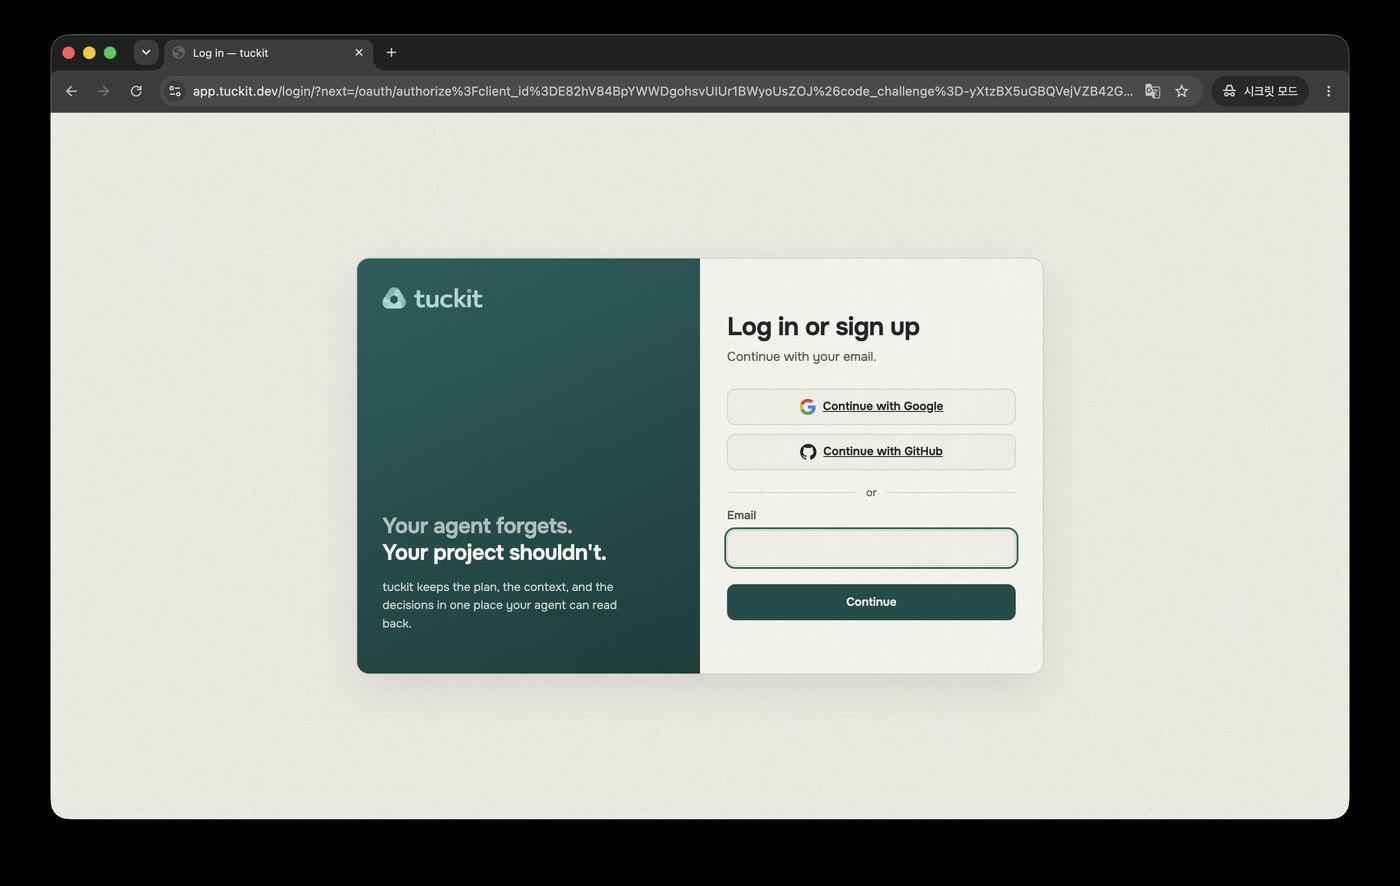
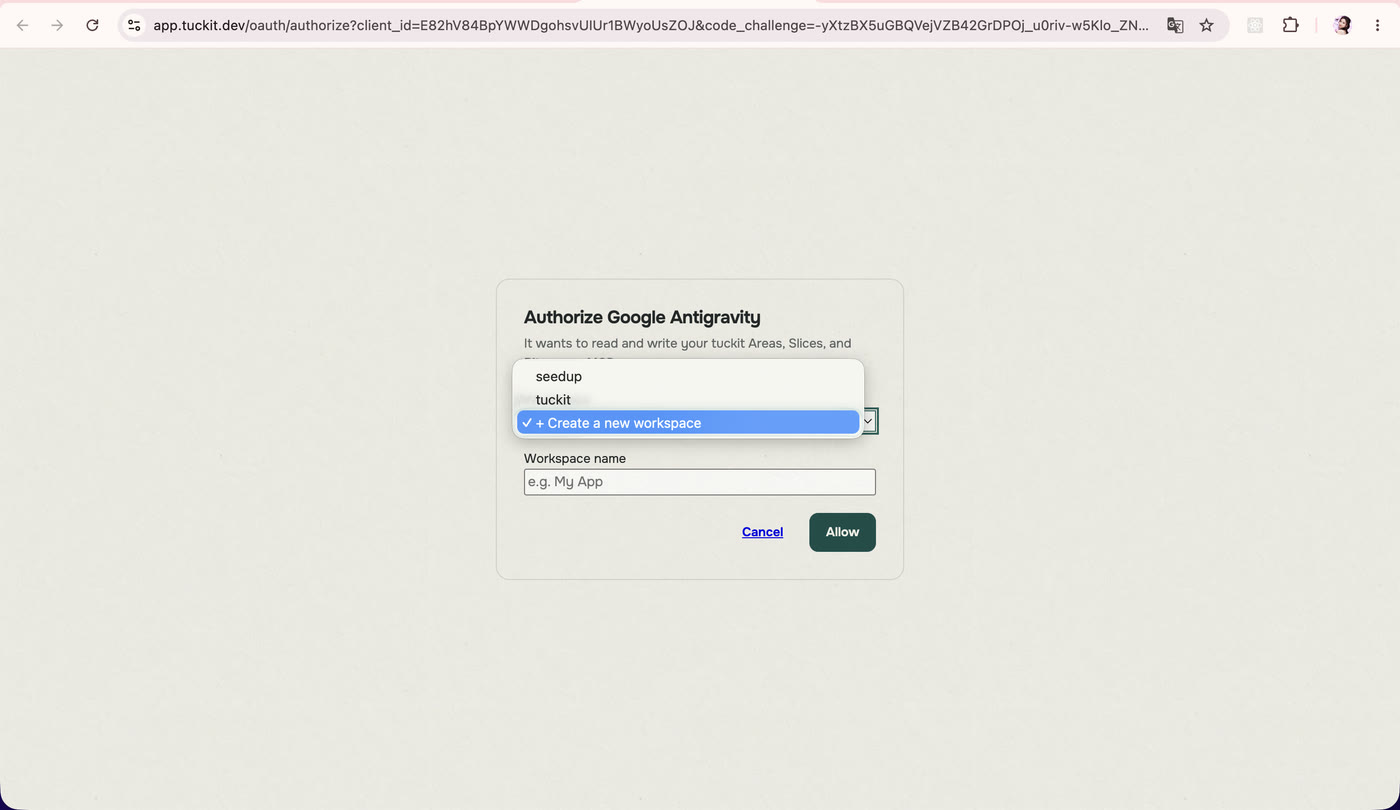
Once you are signed up, you will see this next window. Time to create the project space that your agent will read from and write to. In the workspace field, pick '+ Create a new workspace',
and give it a name. I will call mine getstatus.
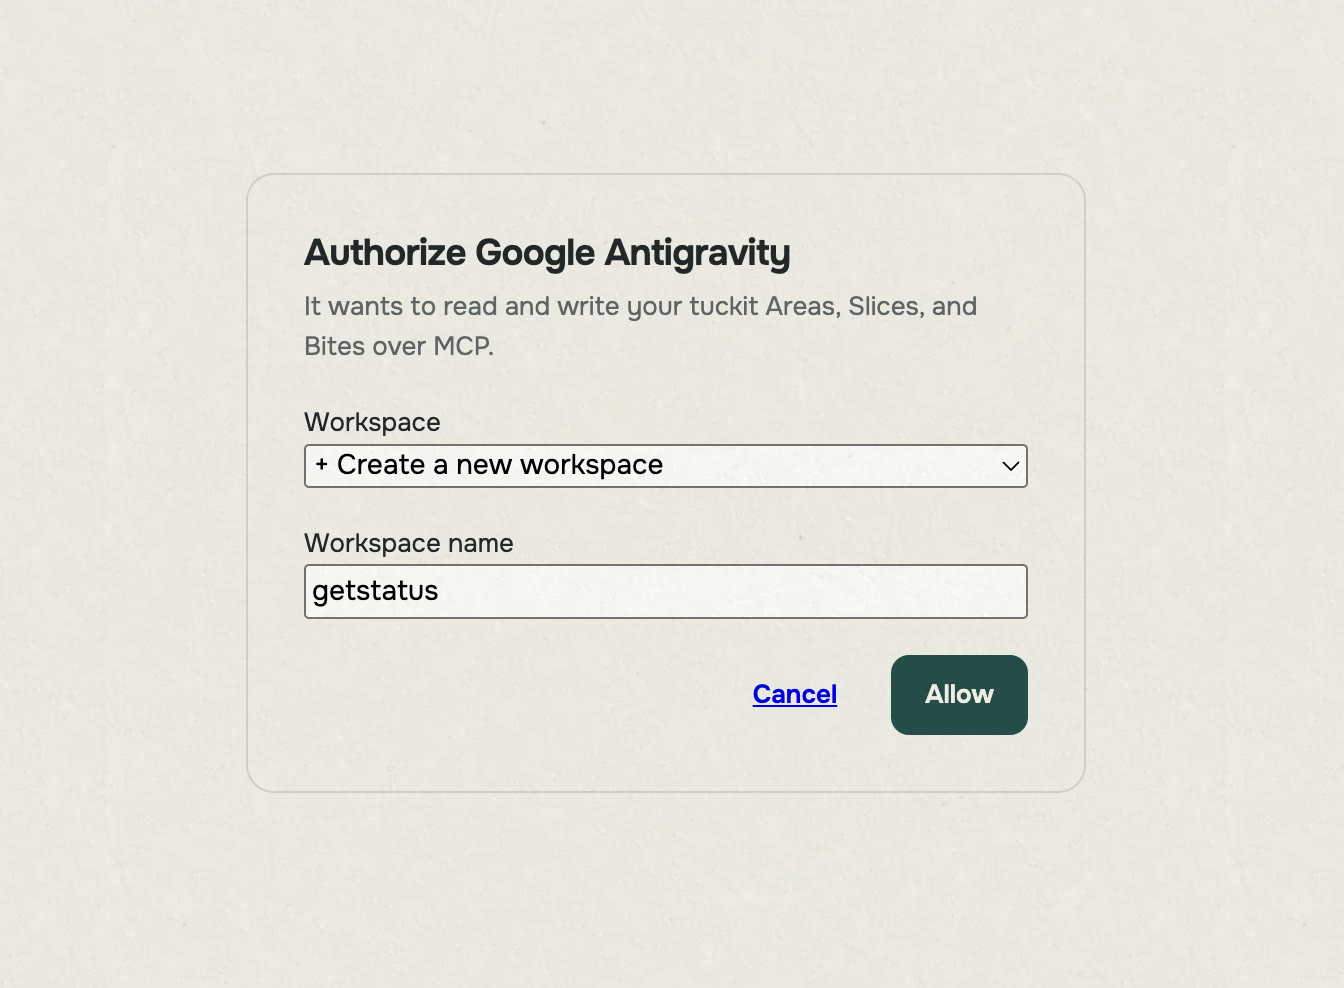
Press allow and you will get a code like this. Paste that code into the agy window and press enter with confidence.
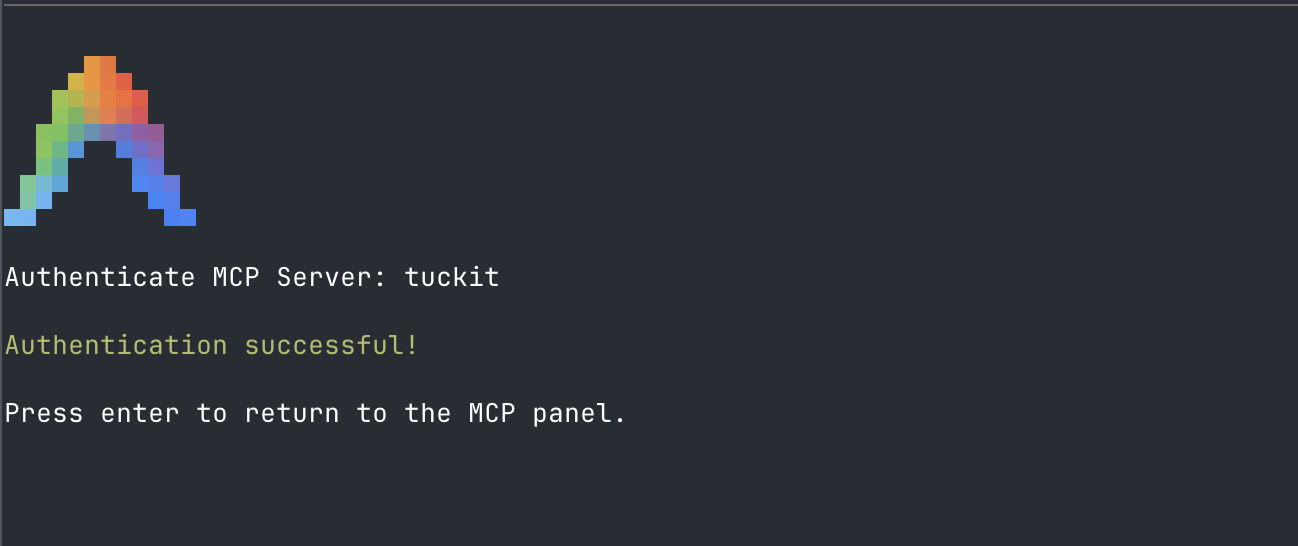
And with that, Antigravity can now use tuckit's tools!
![The MCP Servers list with tuckit now marked [Authed], listing tools like get_project_state, list_areas and create_area](/blog/llm-status-bar-app/17.jpg)
Starting the build with tuckit
The tools and the skills are all in place, so let's run it. People look for clever ways to use AI well, and I understand the impulse, but my honest answer is that the way to use AI well is to burn some tokens. Try typing in what you want, like this.
/tuckit:starting-with-tuckit The servers of the AI services I subscribe to keep going down lately, so I want a program that reads status pages like status.claude.com and shows them at the top of my Mac. It has to support the status pages of claude, gemini and openai.
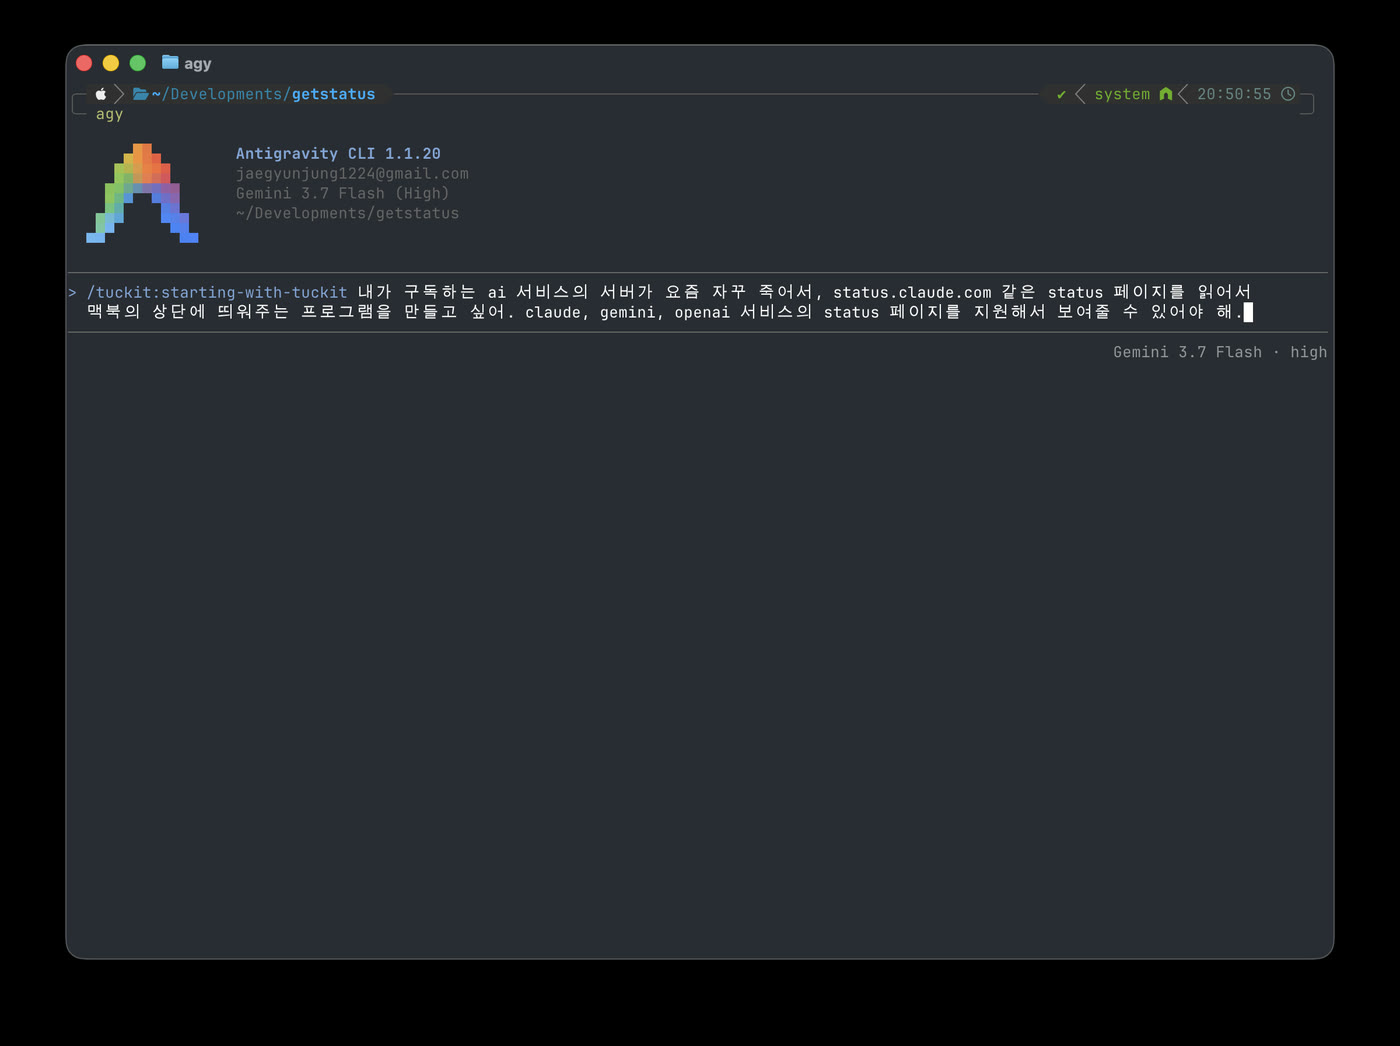
Good, press enter. Now fold your arms and stare at the screen like a genius developer working an assistant to the bone. When you vibe-code, especially in a cafe, the posture matters.
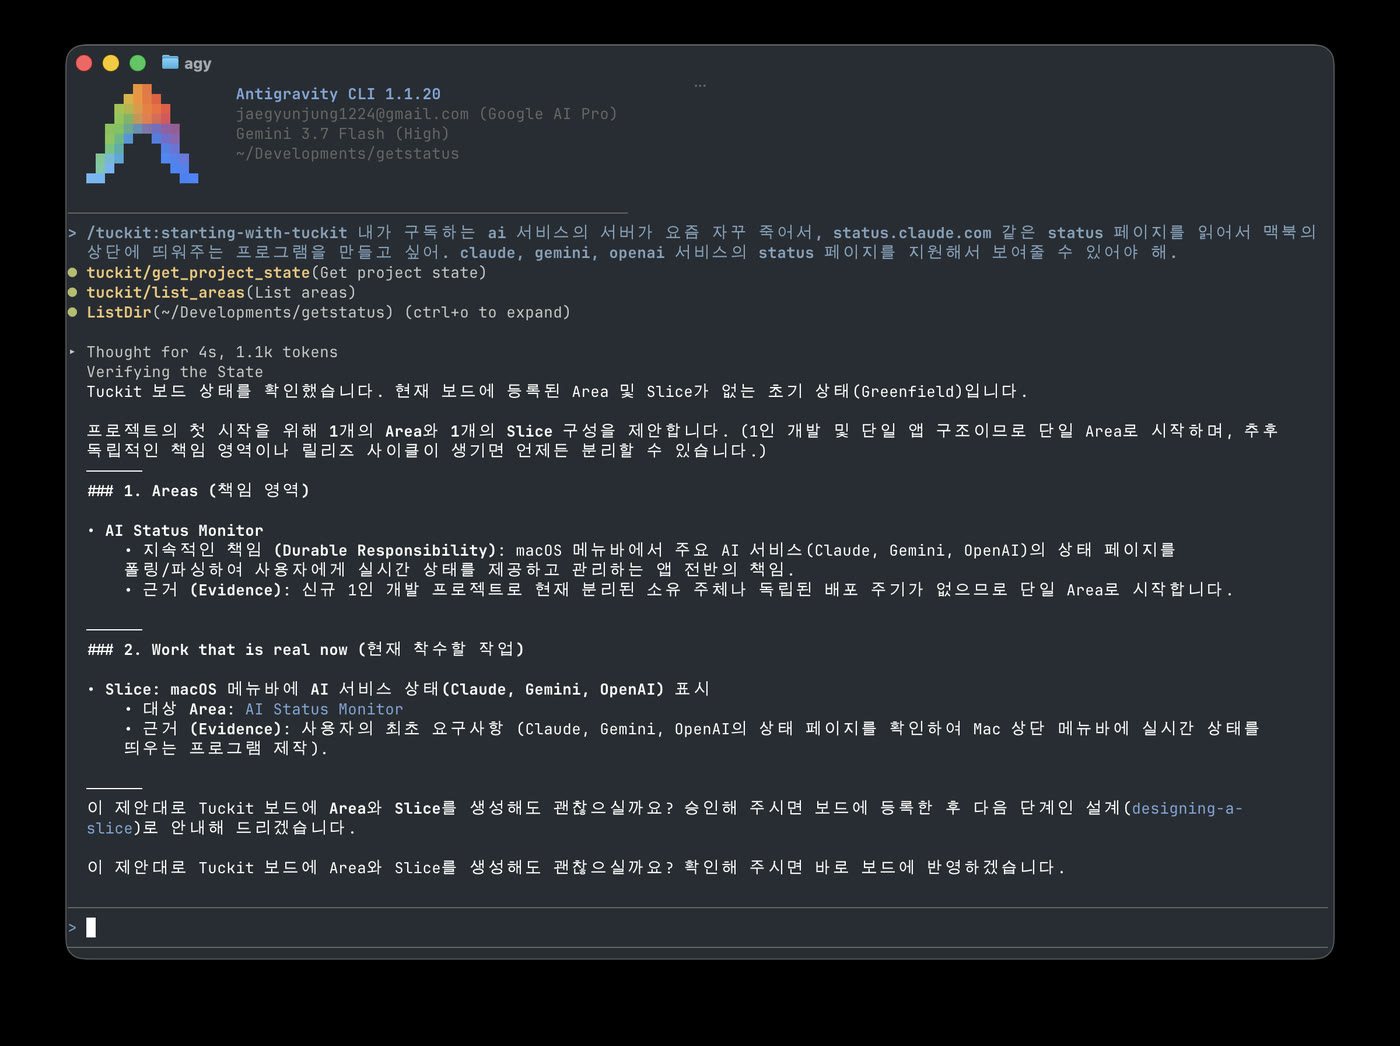
The AI is saying "I understand what you are trying to build, let me create one area of responsibility for the monitoring app, put the first piece of work on the board, and start there."
Tip: an Area is a semi-permanent area of responsibility that you keep managing as the project goes on. Backend, frontend and app could each be one. Start with a small number of areas, and only think about splitting them when the project grows, you hire people, and the pieces genuinely need separate owners.
Good, that is what I wanted. Say this to the AI.
Yes, let's start that way. Put it on the board and go.
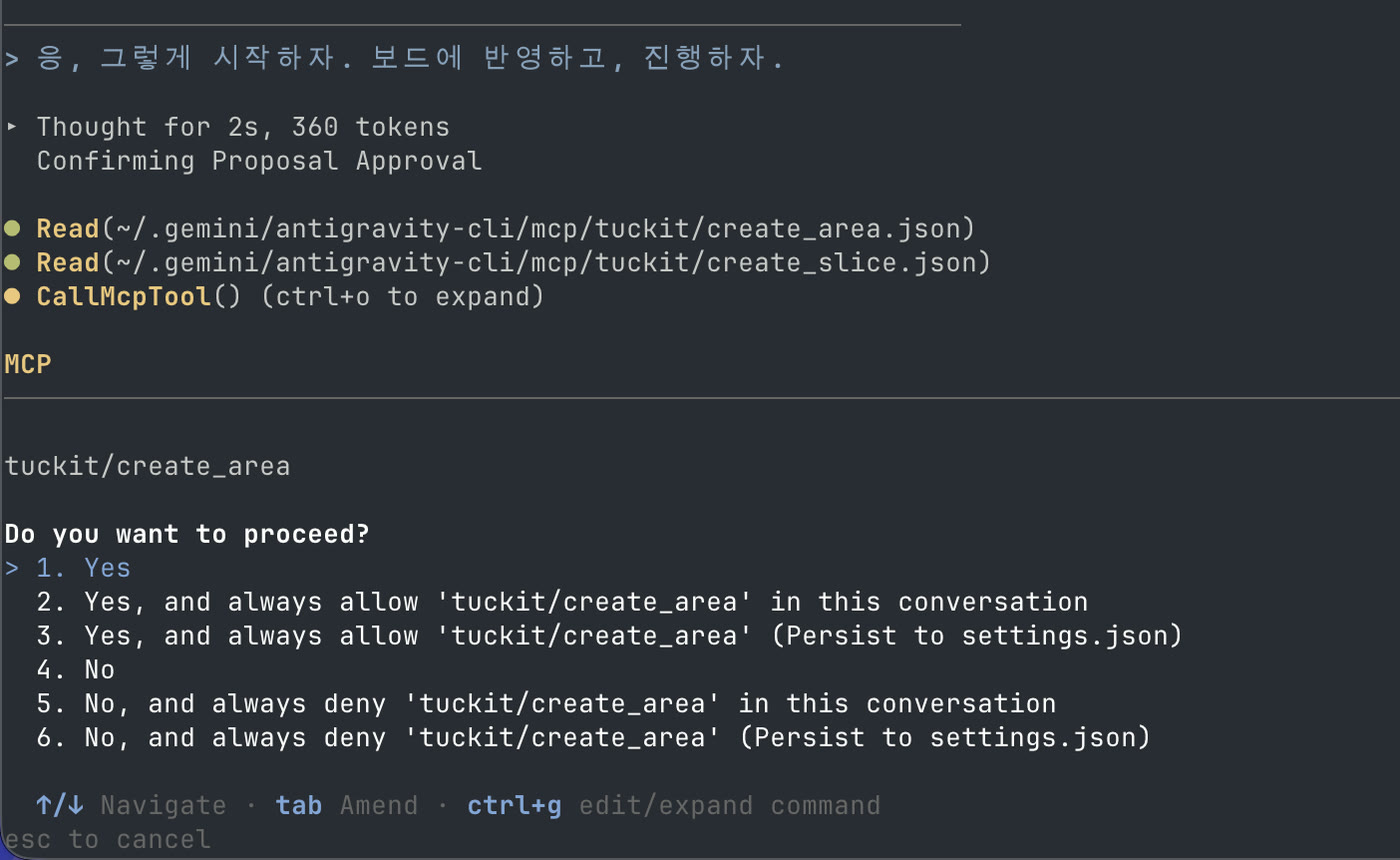
Antigravity will now ask you "can I use this tuckit tool?". Press yes,
then open app.tuckit.dev/.
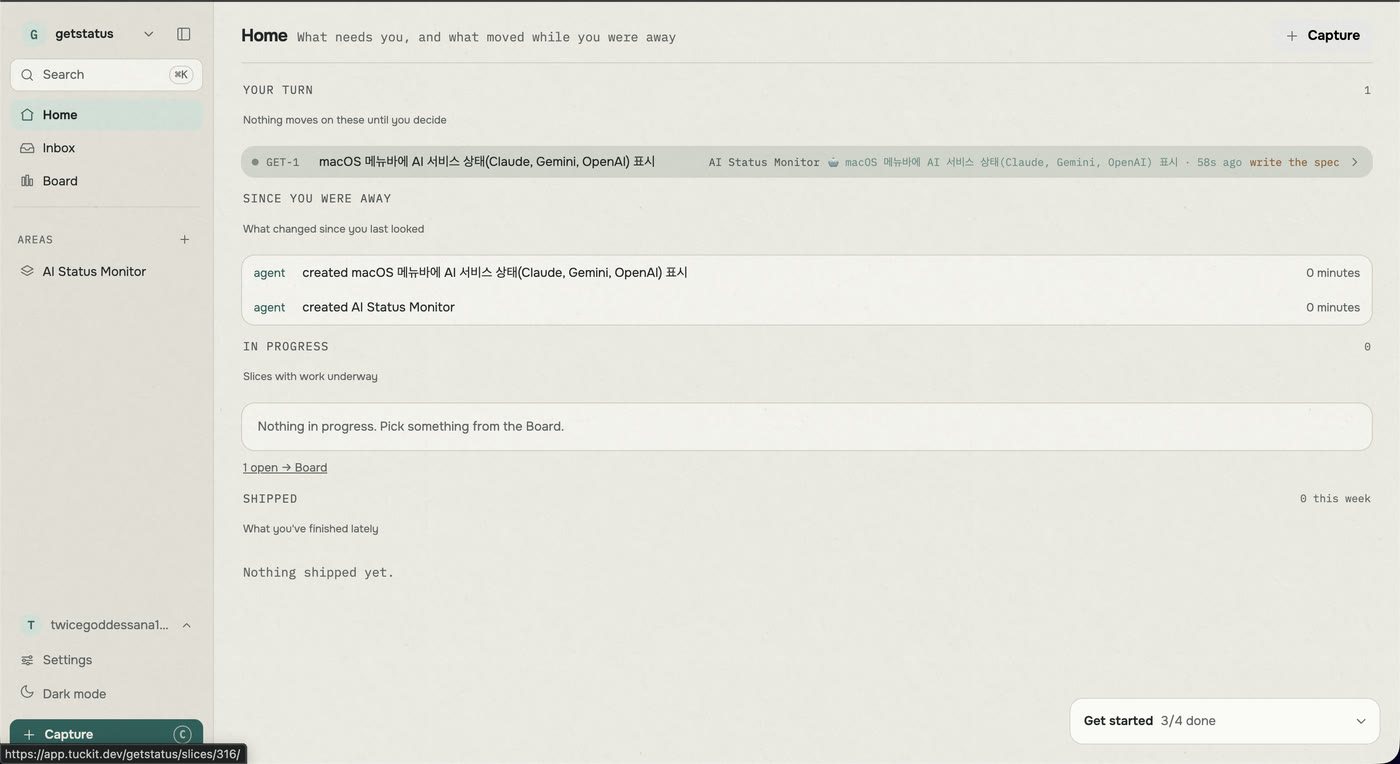
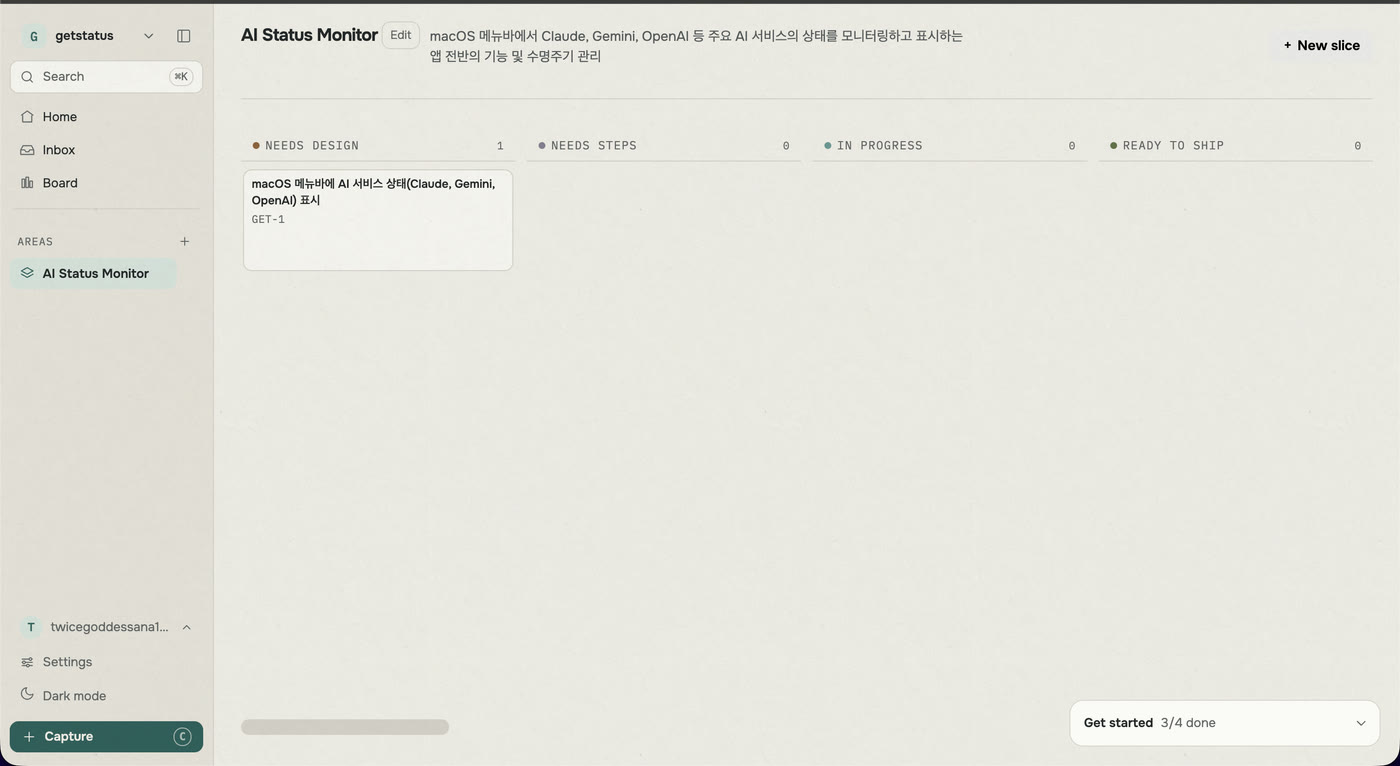
You can see that the agent created the area. And as the picture shows, the slice was written too.
Now the agent will offer to brainstorm with you. Let's allow it!
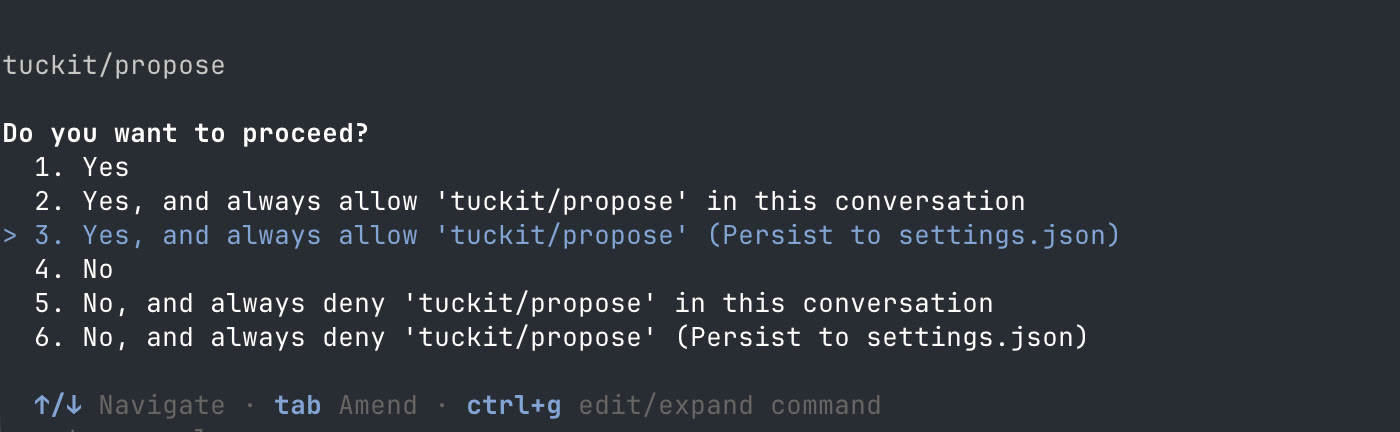
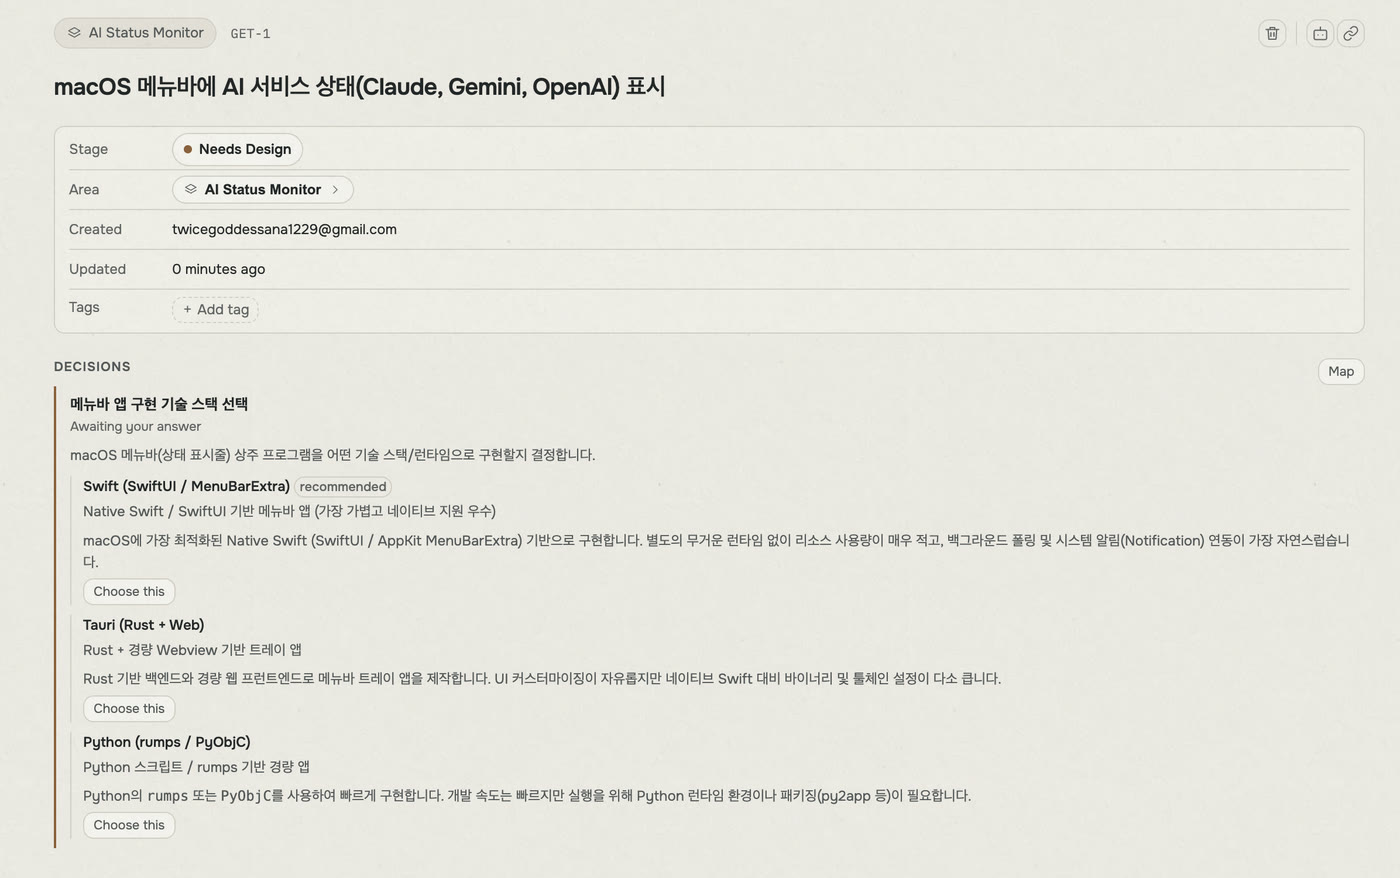
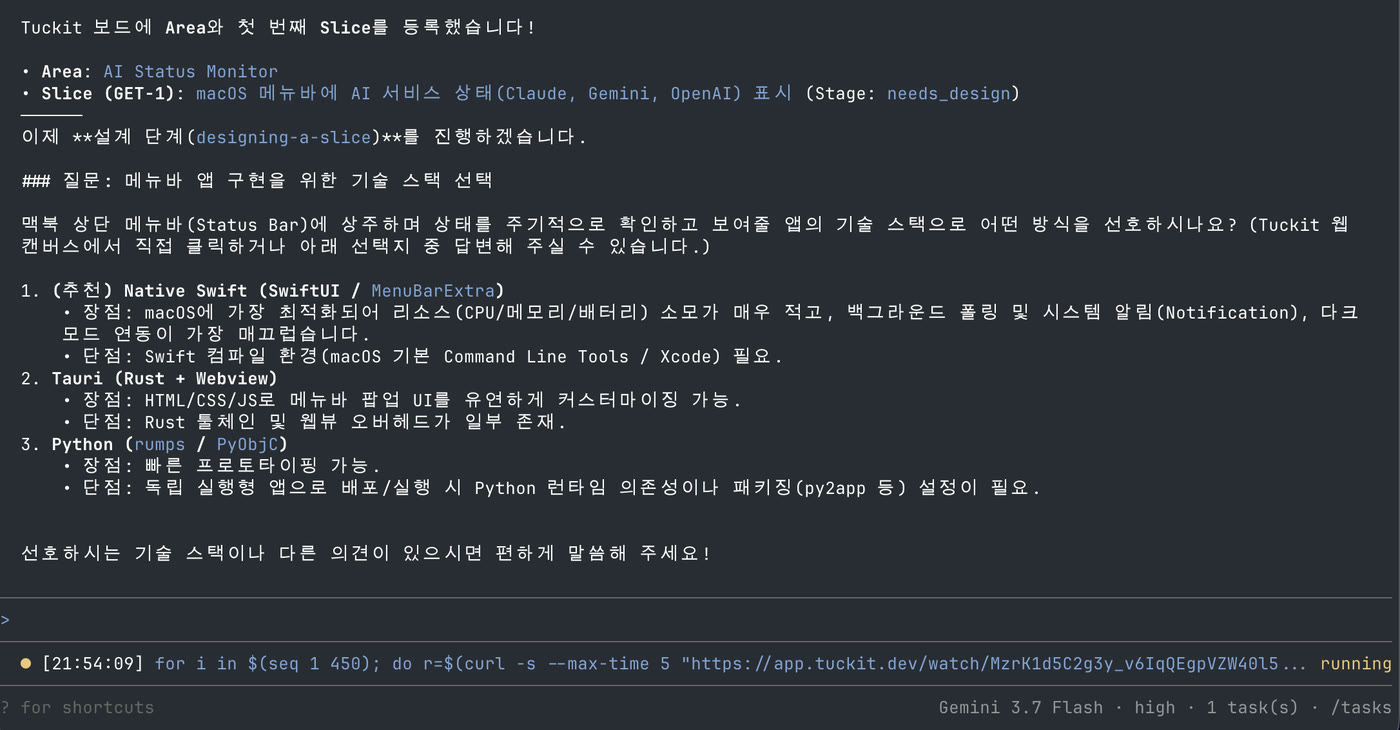
In the terminal and on the web, the AI laid out a few options. It is asking whether to use native Swift or one of the other stacks. Let's pick Swift.
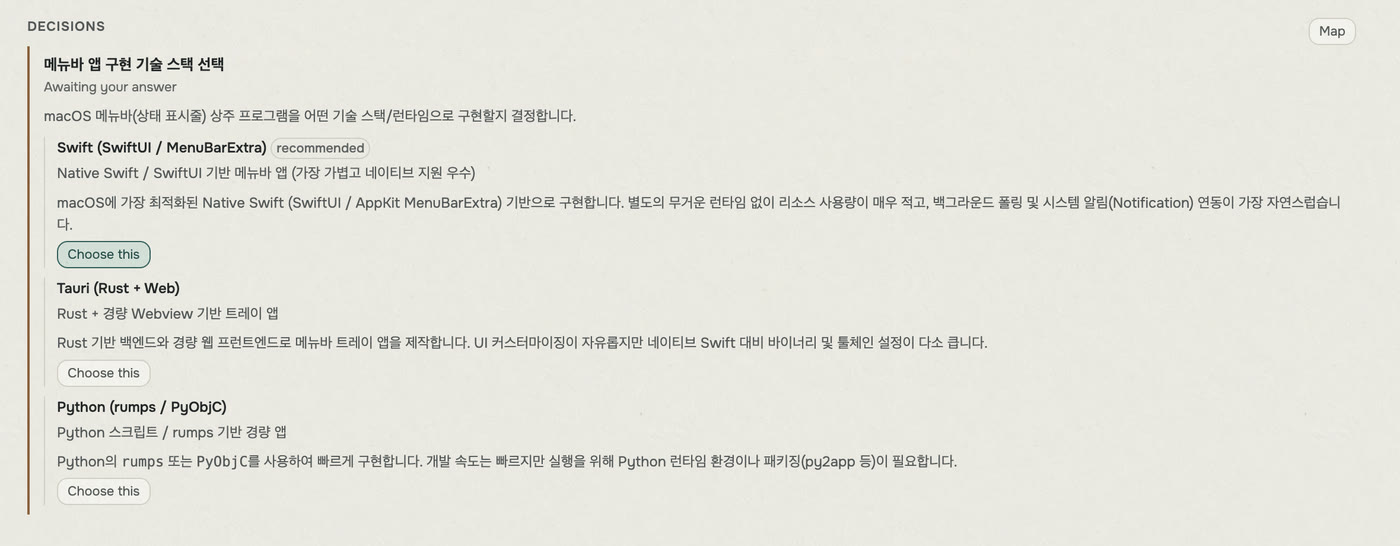
TIP: answer on the web or answer in the terminal. The AI will understand either way.
Because I answered on the web, Antigravity went off to look up the status pages itself in order to implement this. I will allow that.
Then it gives me a second choice. This time it is asking about the shape of the window and how each AI provider's status should be displayed.
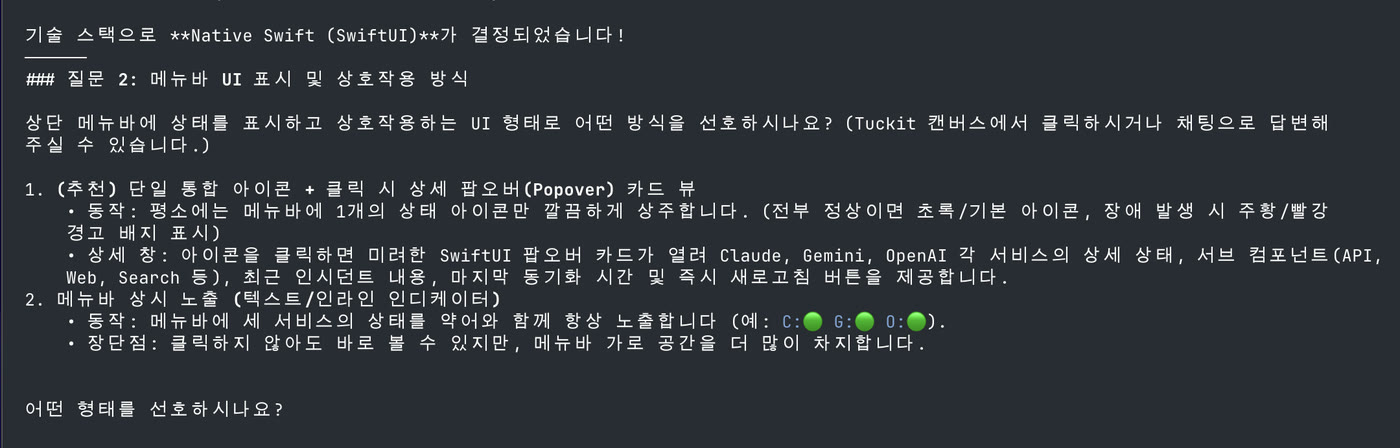
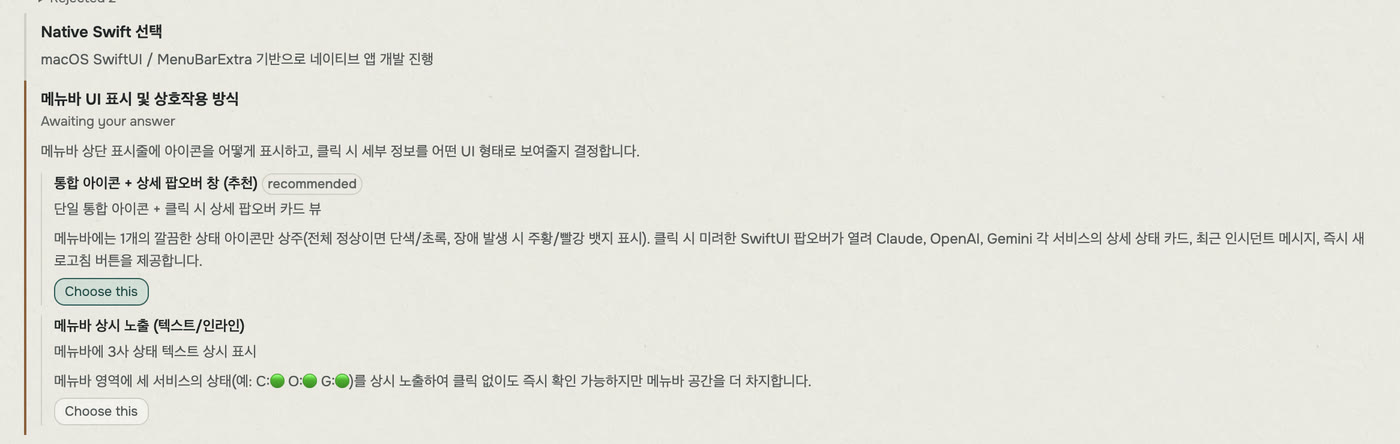
Rather than eating a lot of horizontal space, the recommendation of one icon with a popover on click sounds better.
While you are here, press the 'map' button on the middle right. It shows you which choices came up so far and what the alternatives were. It is worth leaning on when you need to share context with a team.
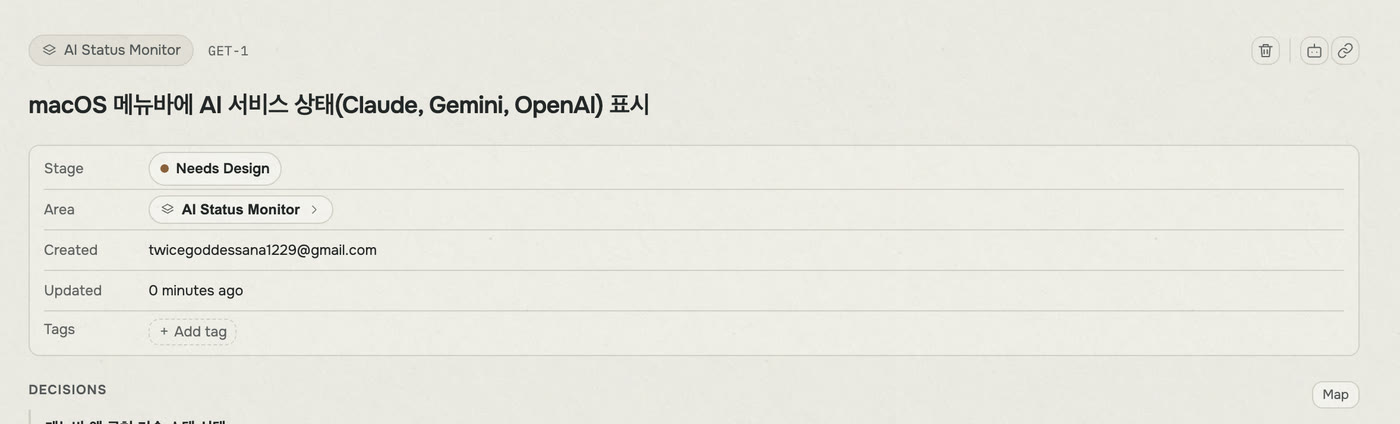
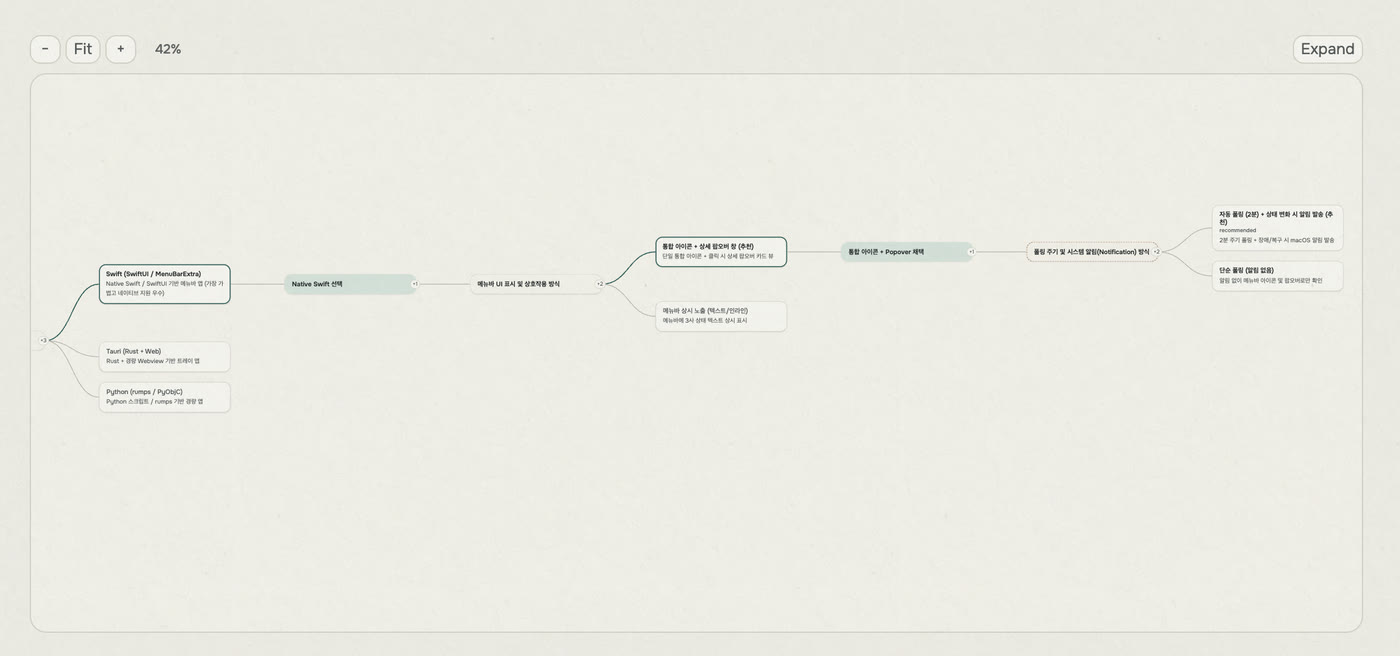
While I was waiting, it asked another question, below. How often should it fetch the status, and how should it tell me when something breaks? Being notified would genuinely be convenient, so I will go with the recommendation.
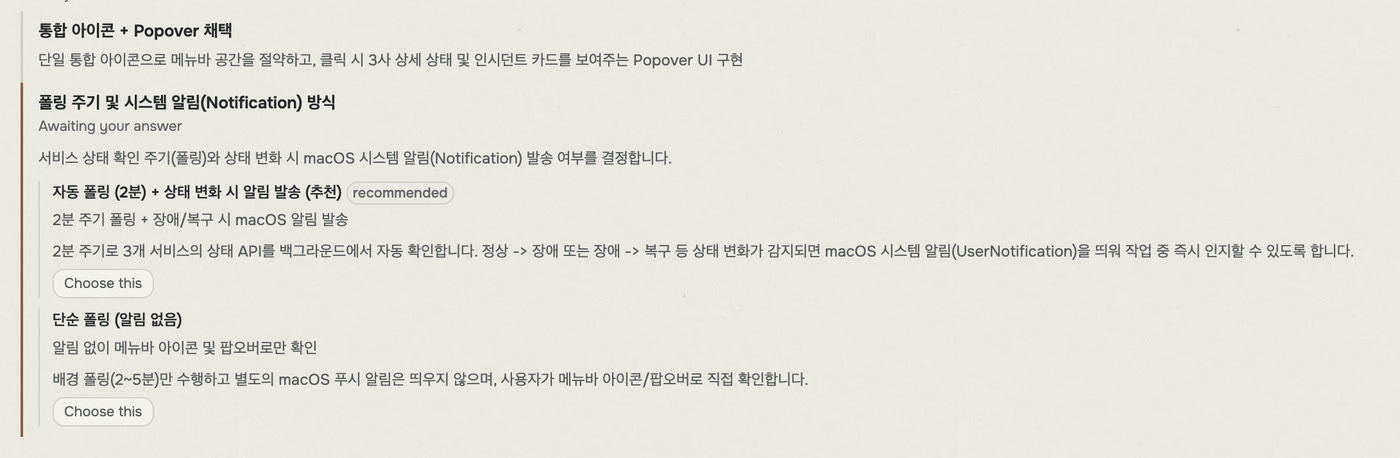
After a short wait, the AI says the design is done. Let's look at it.
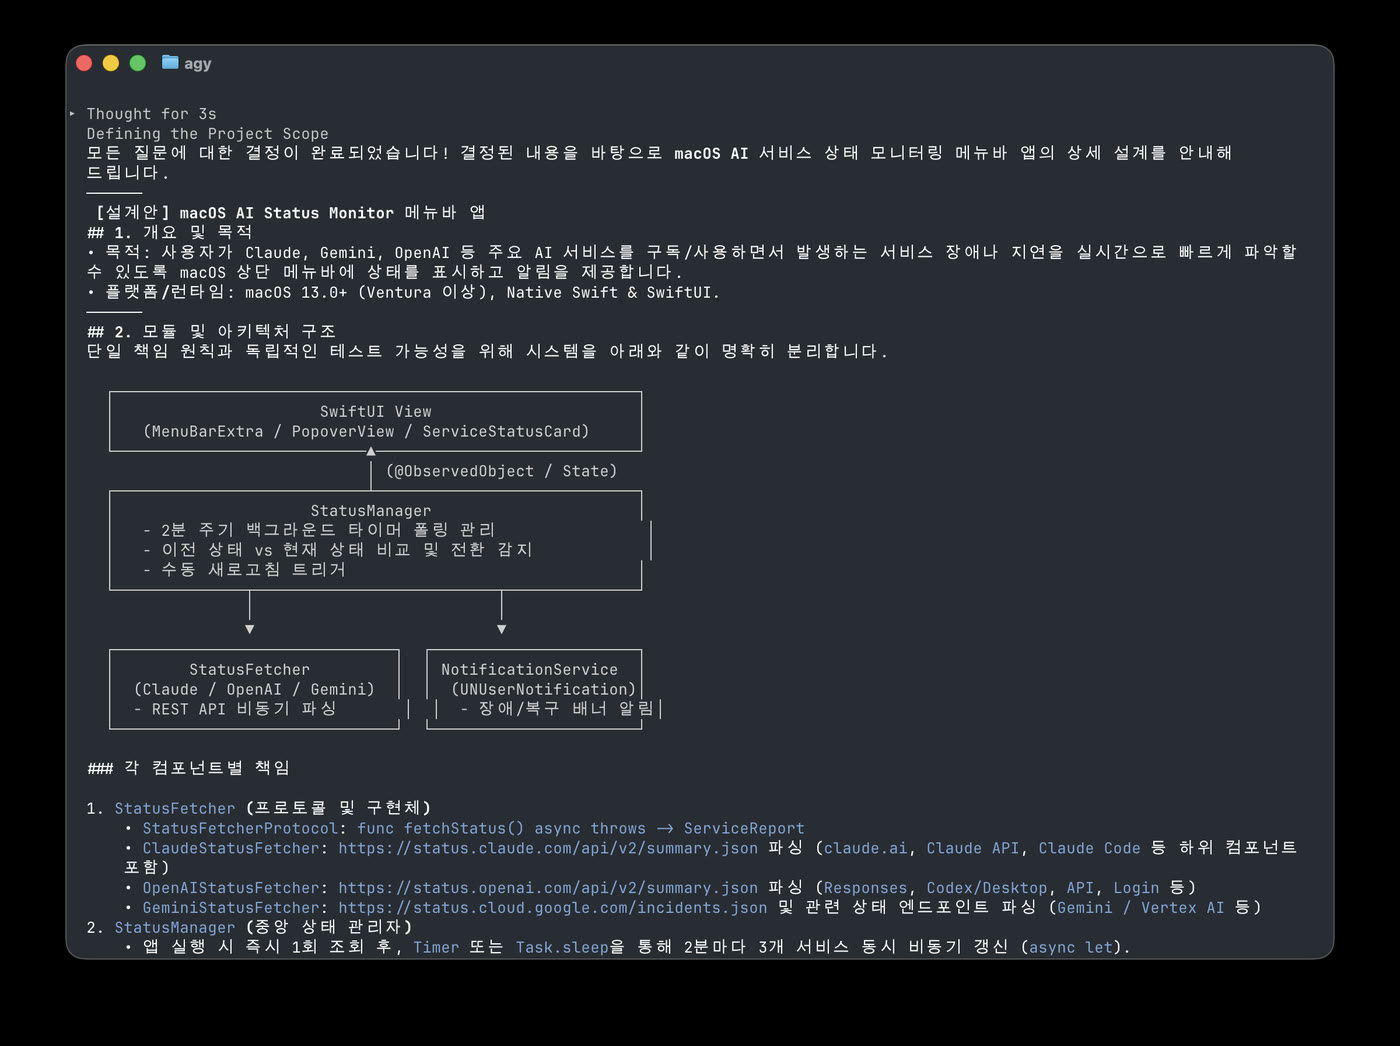
One thing though: it never really said what the icon should look like. Let me ask about the shape of the icon.
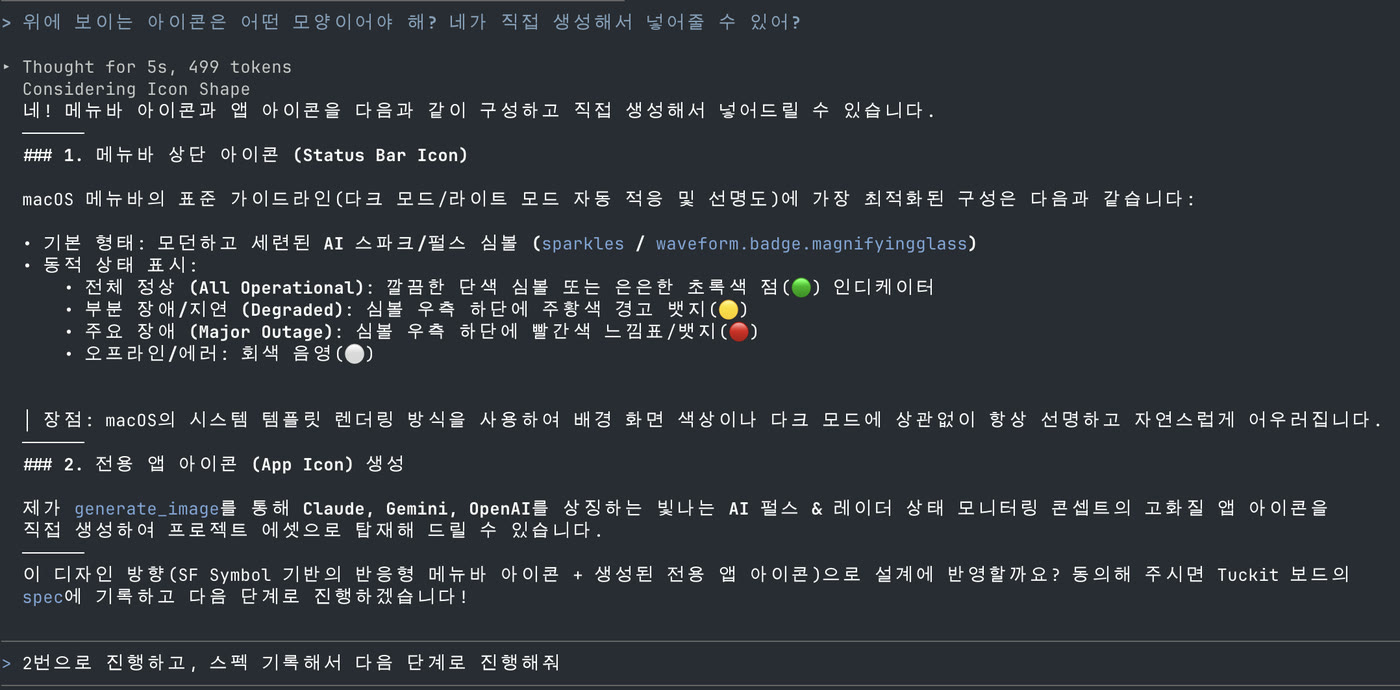
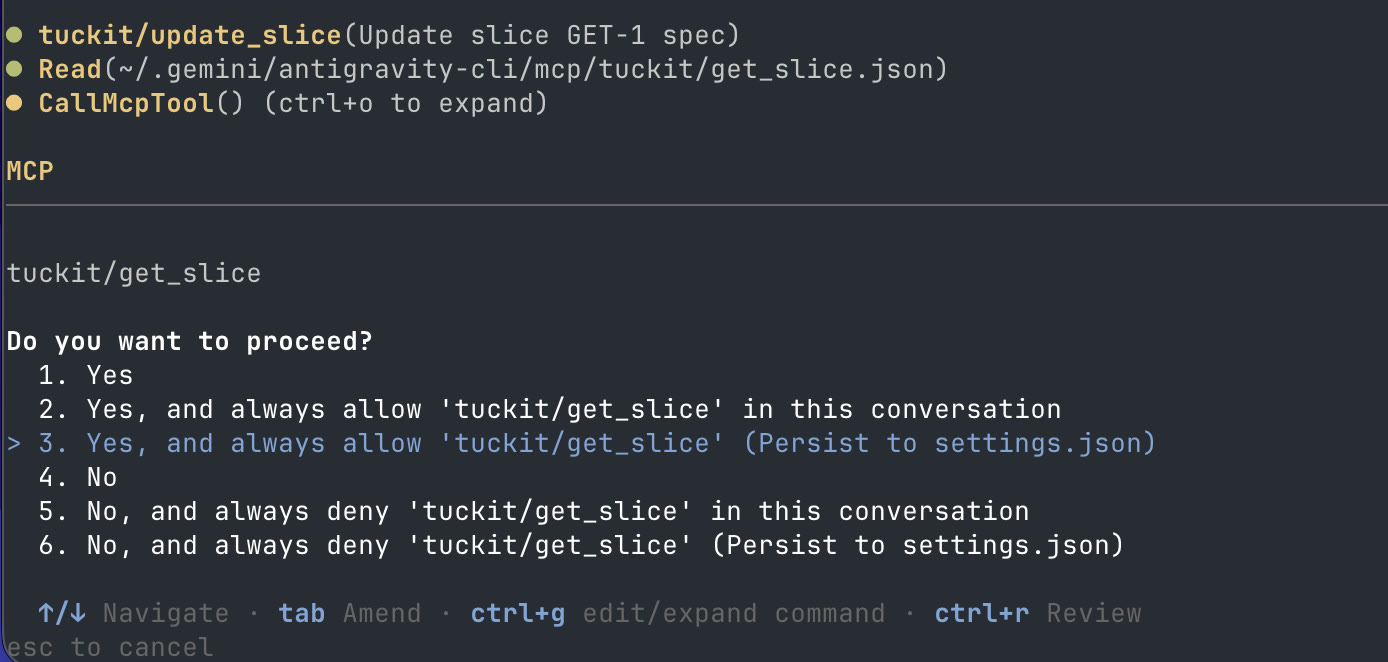
It says it can generate the icon itself. Well then, let's burn some tokens. Go ahead. Brainstorming is done, so now the spec gets written and then broken into steps we can work through one at a time. Antigravity will ask permission a few times to update the slice. Press allow.
It wrote a detailed spec. Based on the interview, it recorded
- which services' status to fetch,
- what architecture to build the program with,
- how to handle errors,
- and what the constraints are.
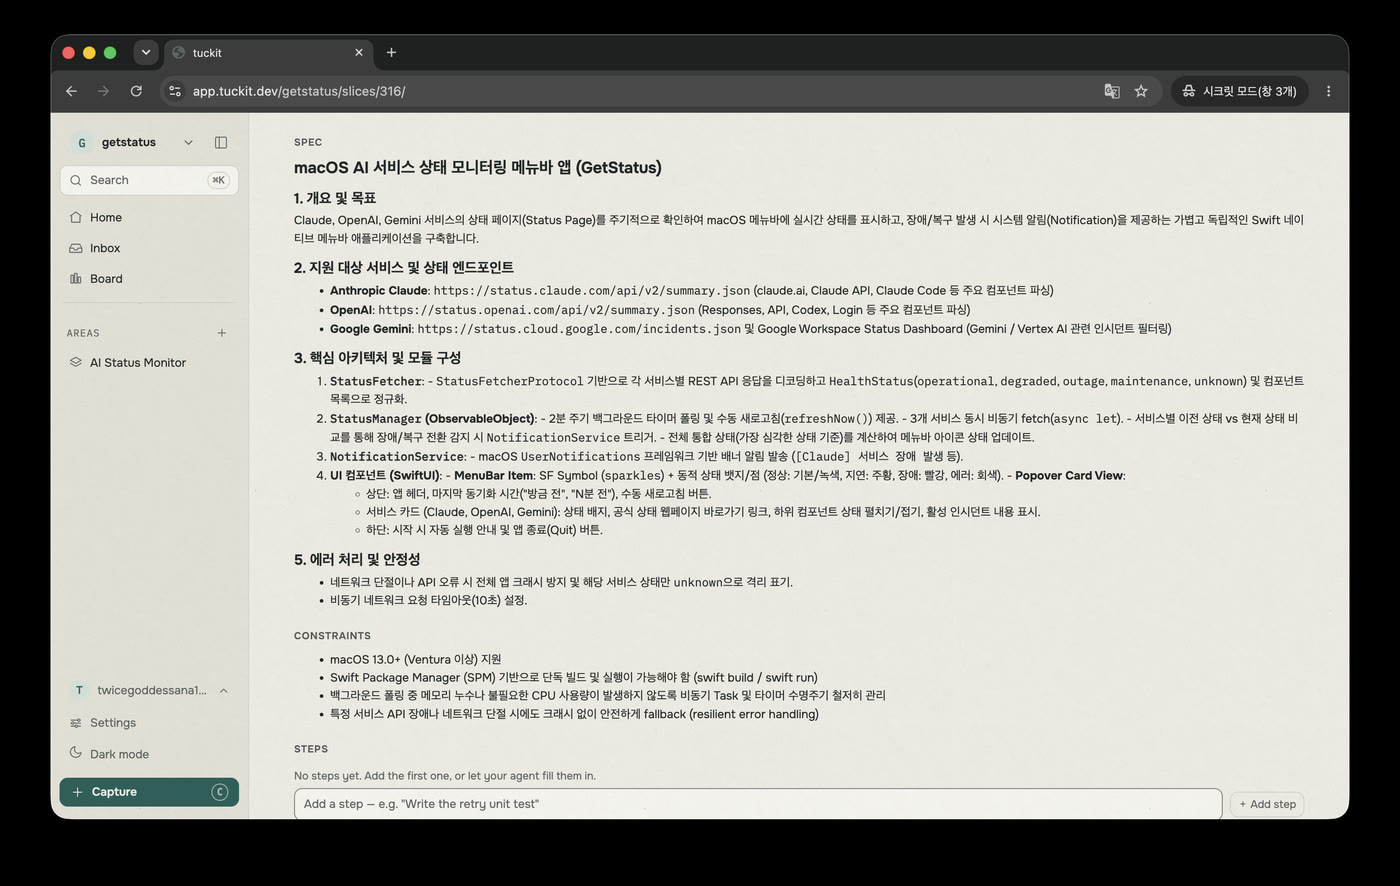
Review it, then tell it to carry on.

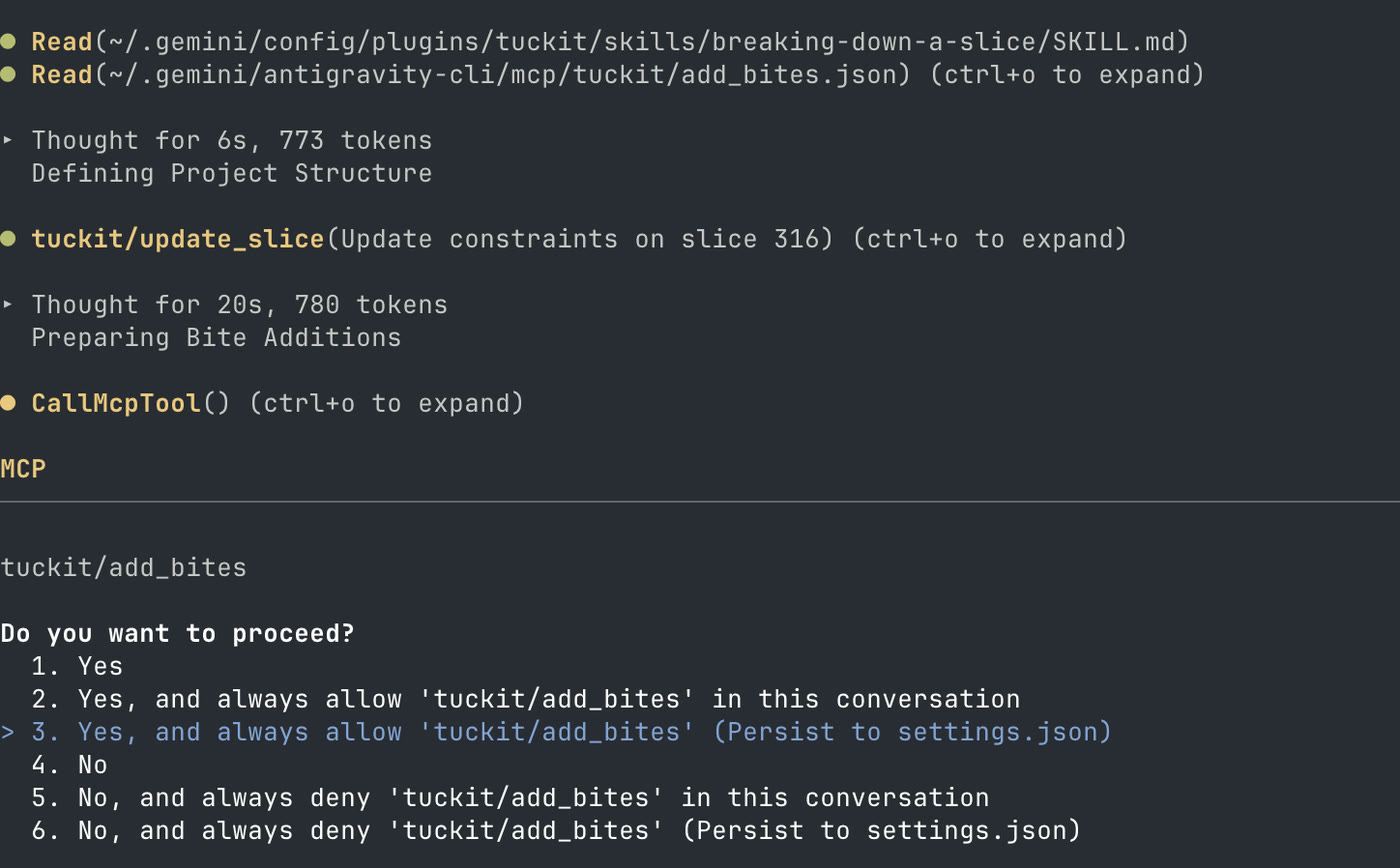
Brainstorming and the spec are both done, so it is time to split the work up. The agent is about to write the steps onto the tuckit board, so press allow.
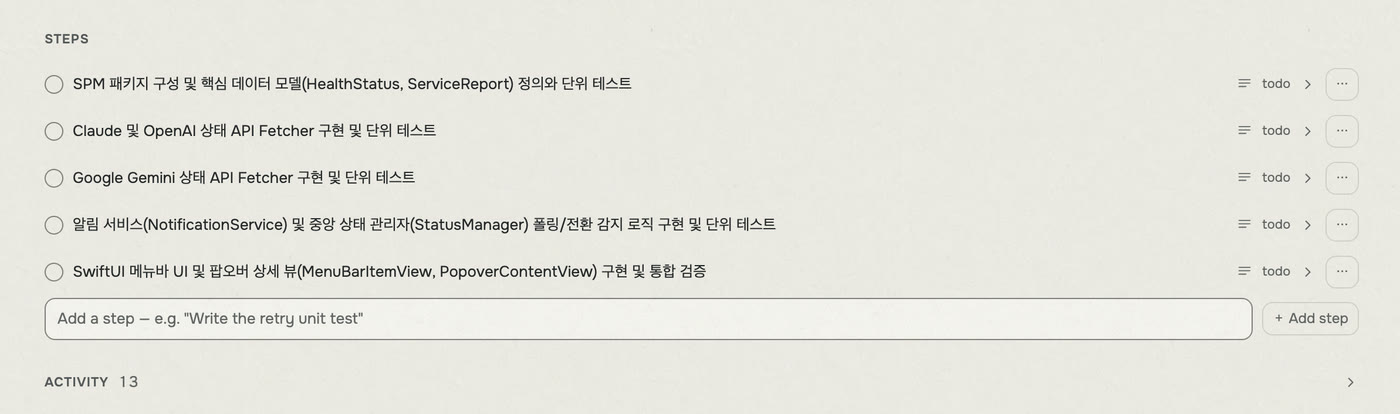
Wait a moment and the board will spell out exactly how the work will be done.
Then the agent asks how to run them.
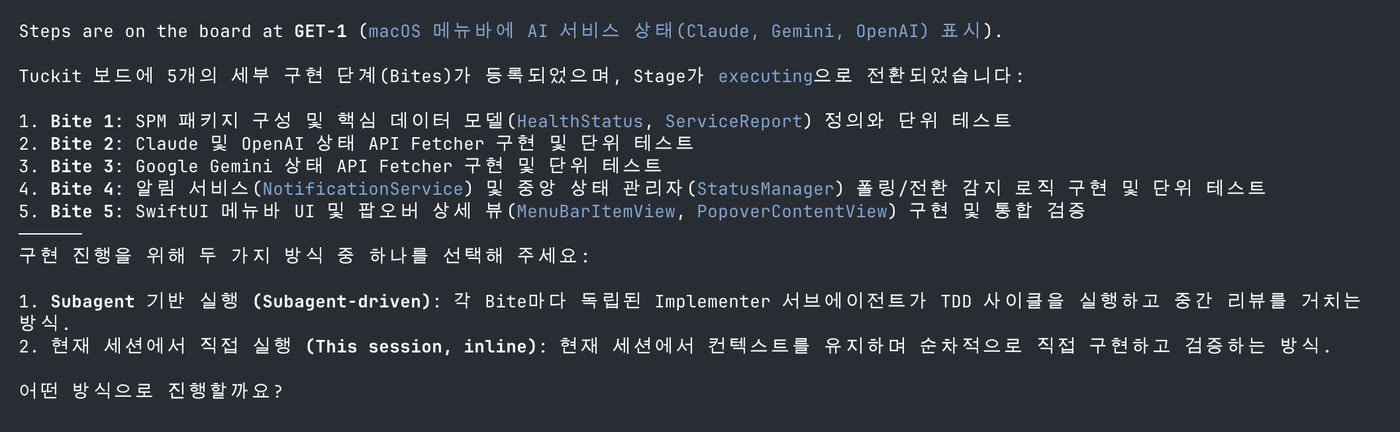
I will take option 2 here.
go with option 2
The tuckit skill kicks in and the build starts.
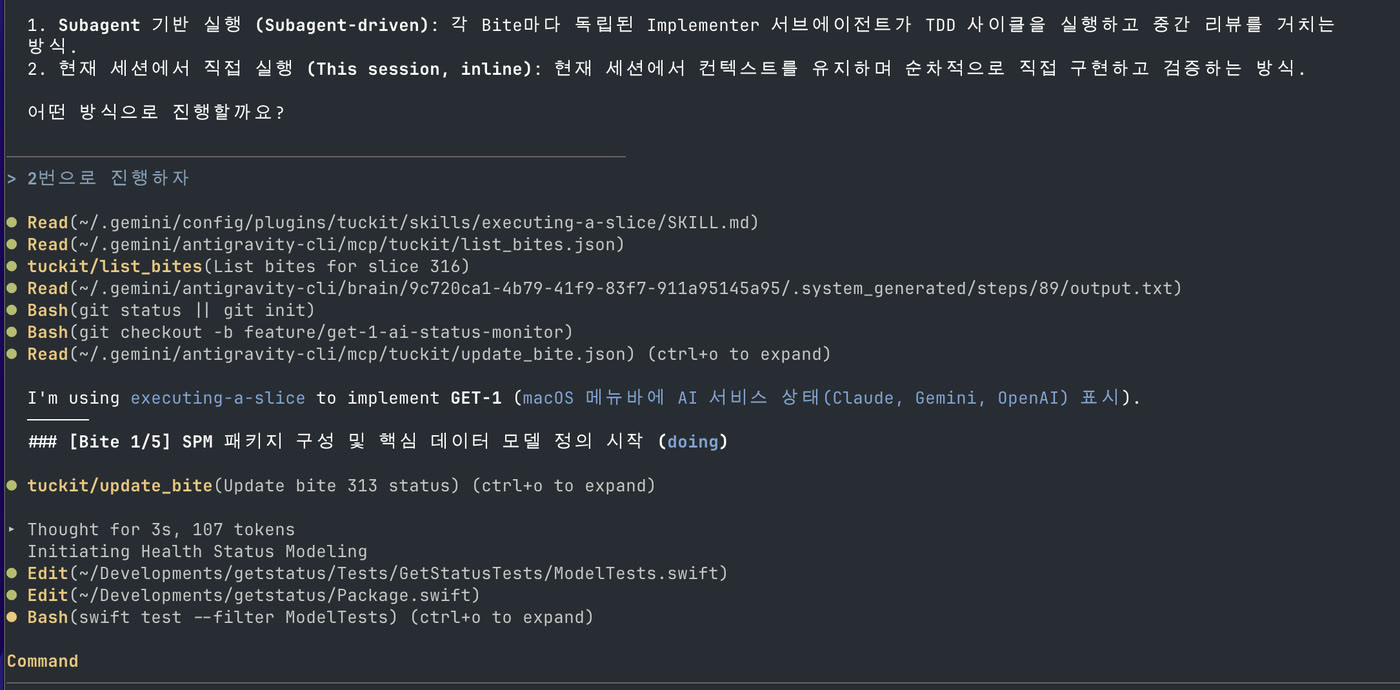
TIP: press shift + tab to switch to 'Accept Mode' and you can stop approving every single file edit.
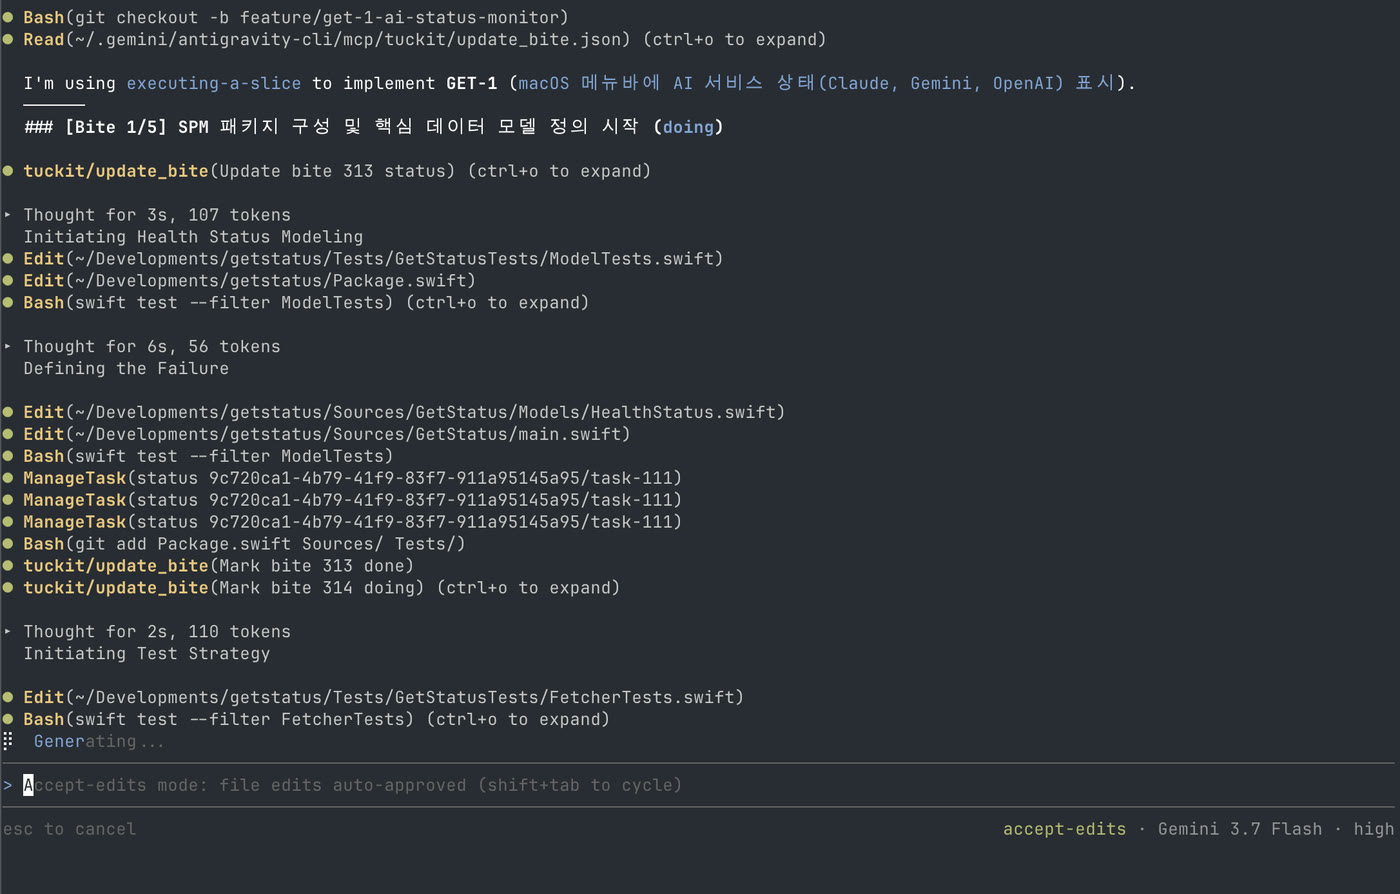
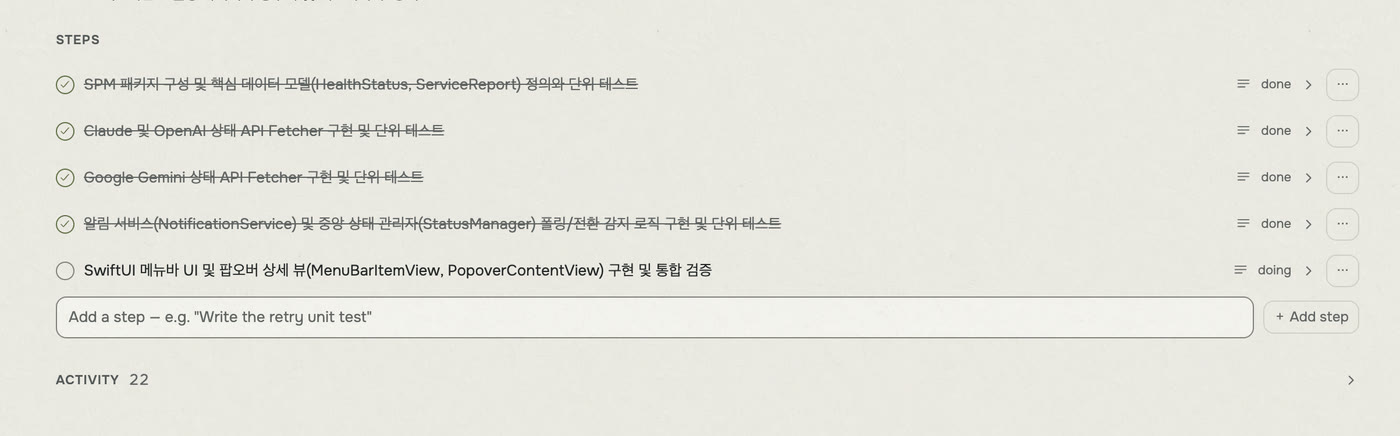
Check the web board now and then too. The agent will have left its own "this one is done!" notes.
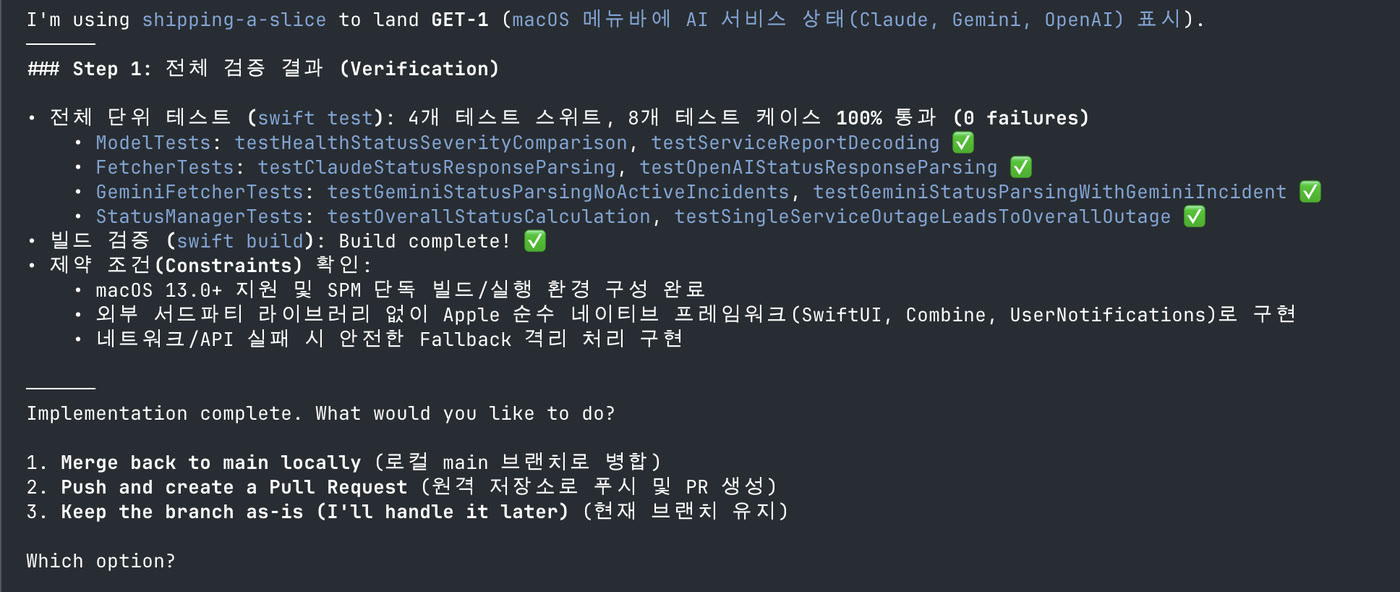
Wait a little longer and the agent will ask what to do with the branch it left behind, and how to wrap up. I will take option 1 so it merges into the main branch.
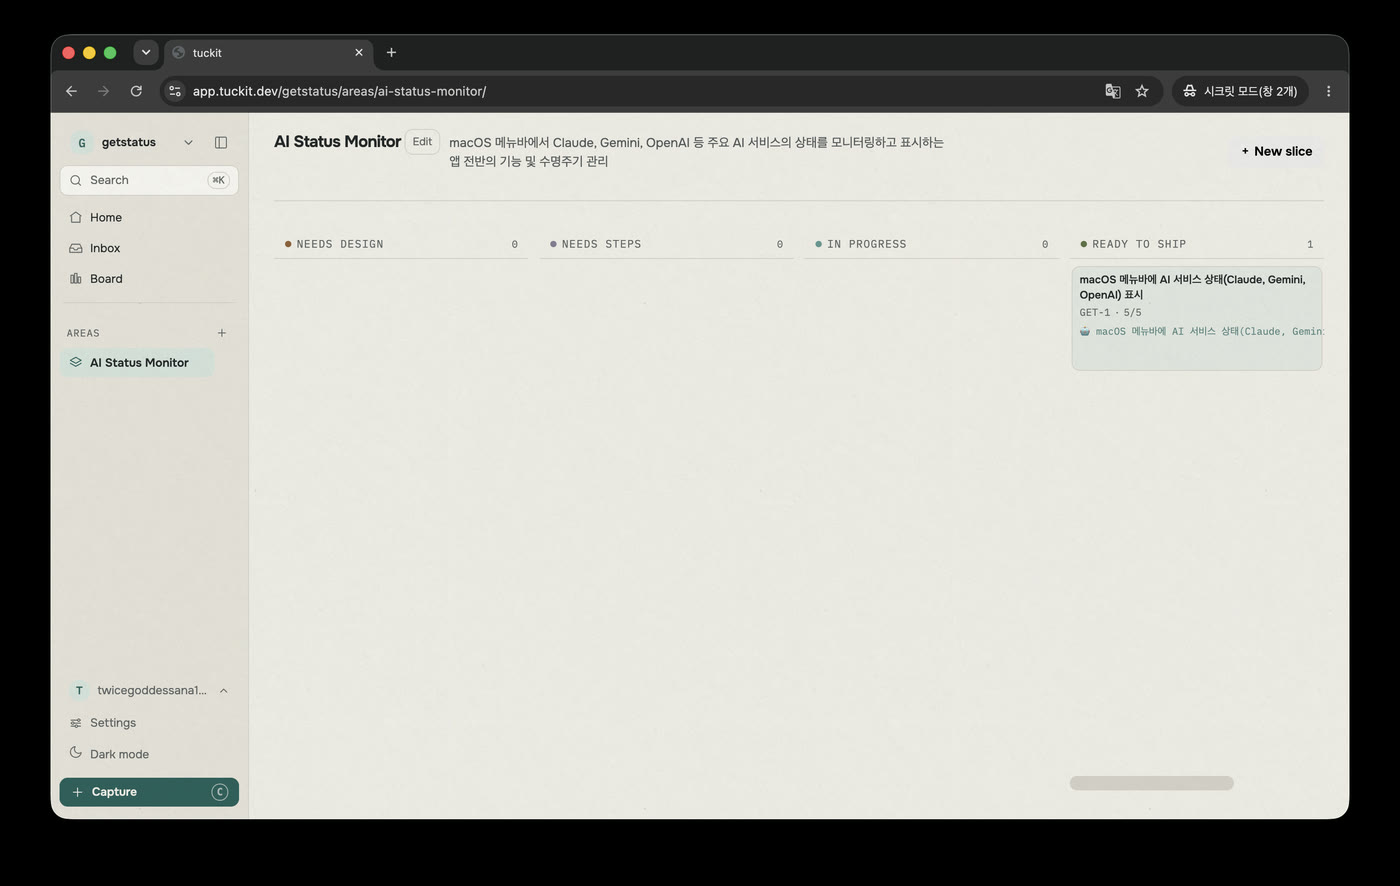
Once it wraps up, the board will have moved itself to 'READY_TO_SHIP'. It also recorded that the agent was the one who moved it.
That said, rather than taking the agent at its word, I would rather test it myself and move it on the board myself.
TIP: on the board, NEEDS_DESIGN, NEEDS_STEPS and IN_PROGRESS are derived automatically, so nobody can set the wrong status by hand. But actually shipping is a person's decision. That is deliberate in tuckit.
Let me ask:
how do I actually test this?
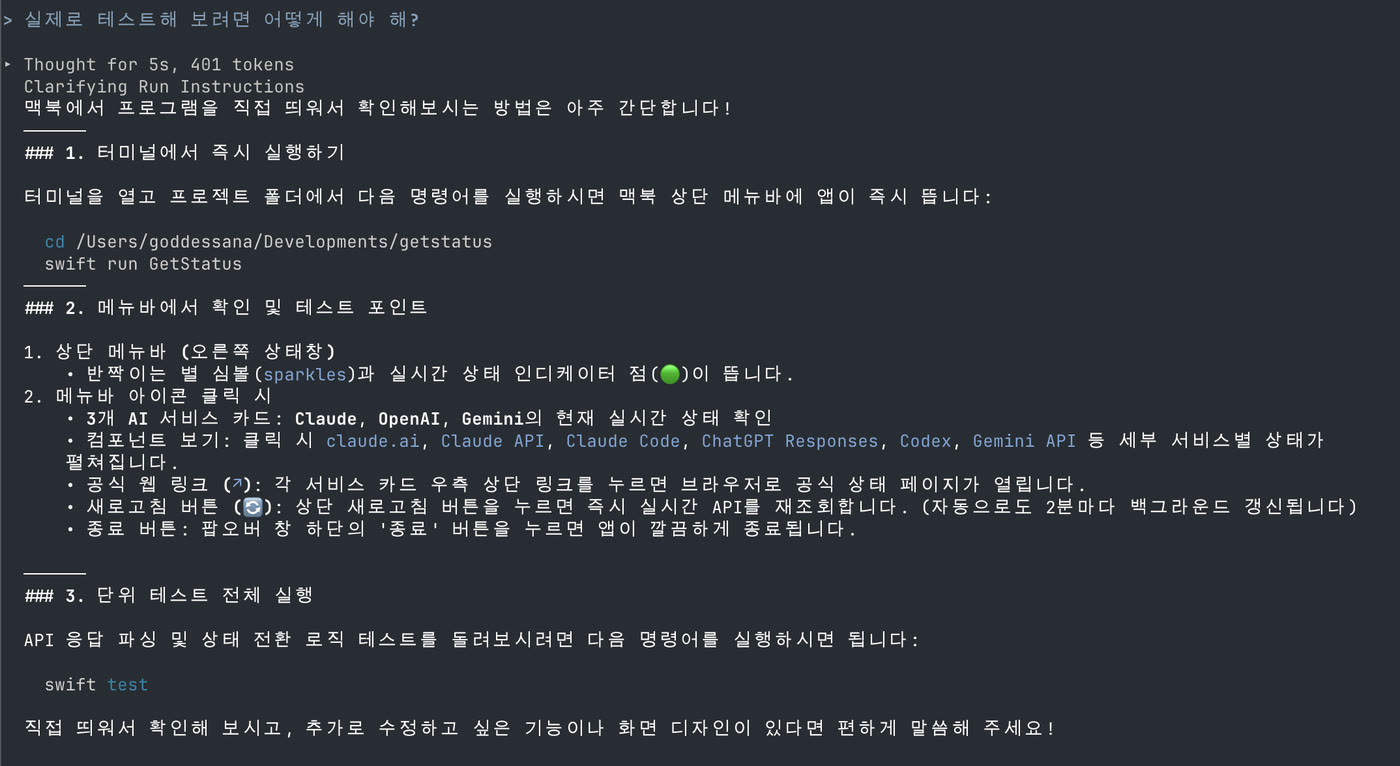
It tells me how to test it. Let's do exactly that.
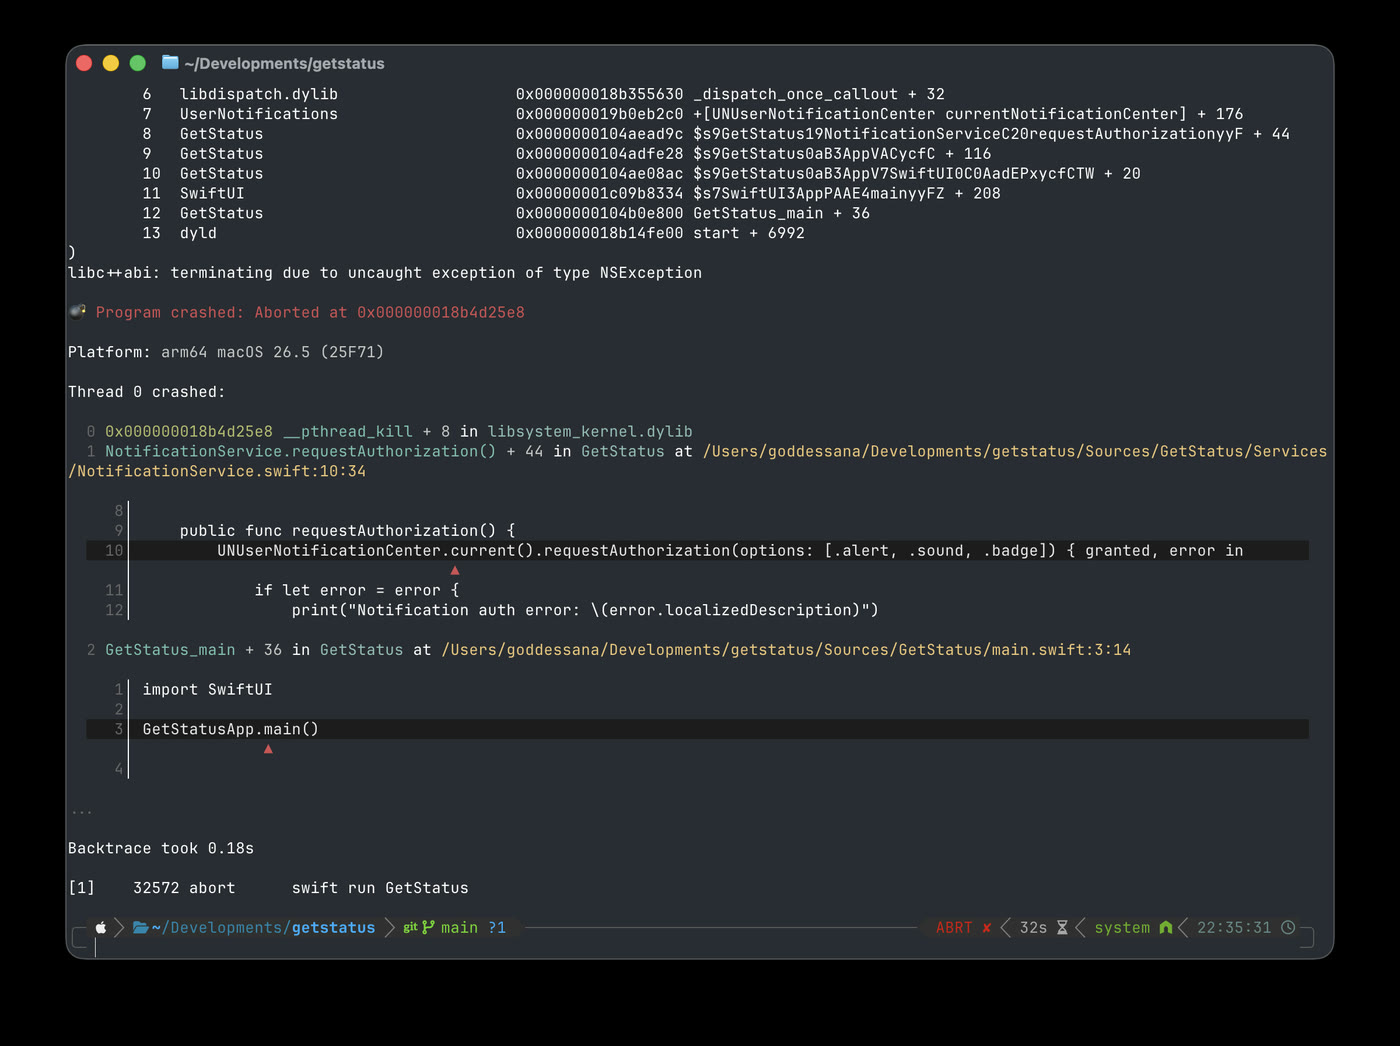
If I had taken the AI at its word and flipped this to shipped, I would have badly misled the team. It crashed. Let's ask the AI and keep going.
There were two problems, and I pasted the error message in.
(the error message)
this is the error I got.
After the fix, here is the app I ended up with.
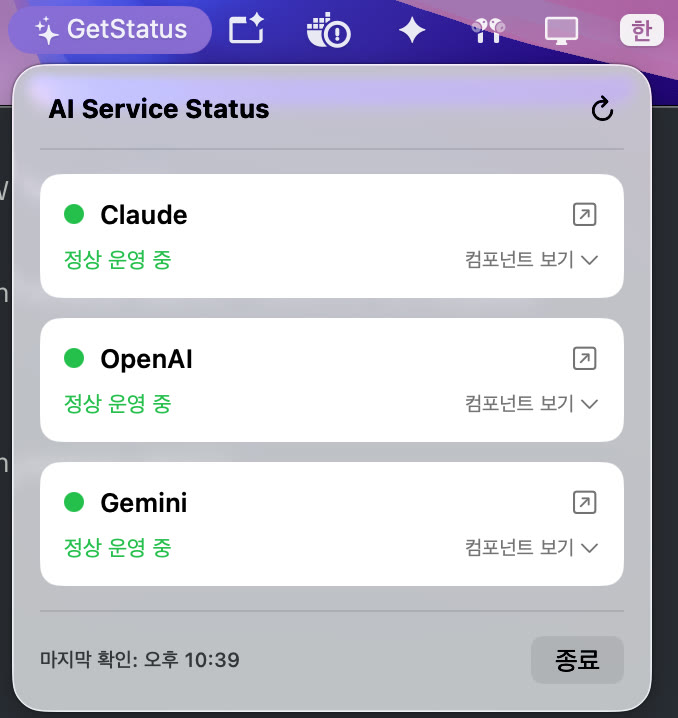
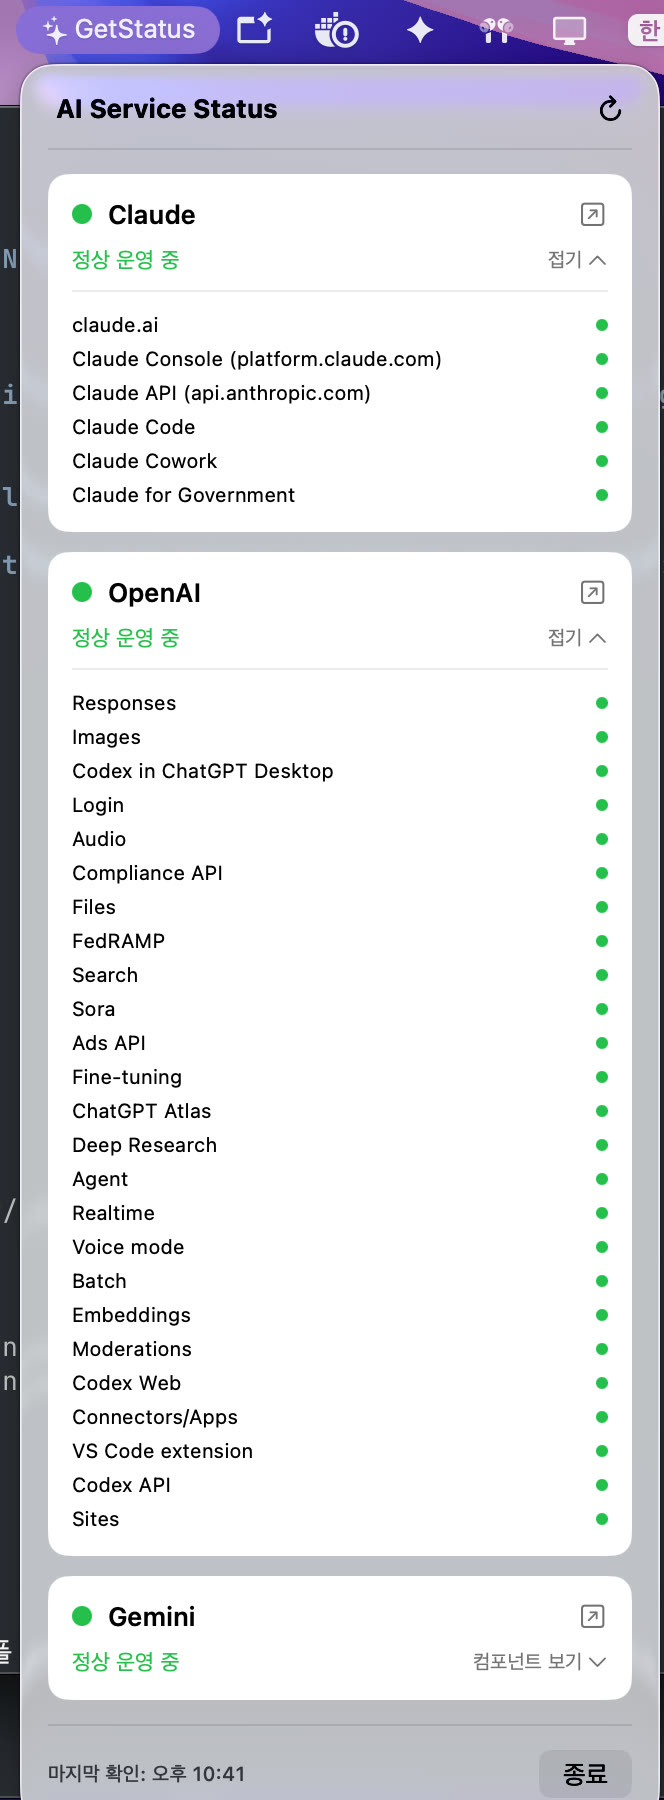
Exactly what I wanted: I can see which API is having a bad day.
Do not let this project die.
Did the tutorial work for you? This was a problem I ran into just yesterday, and checking those pages one by one was annoying enough that I really wanted to build it.
Once you have built something like this, ideas start pouring out. For instance,
- I subscribe to an AI model called Minimax separately. I would like to add more providers.
- How would I turn this into an app other people can install?
- Getting long vertically is a bit awkward to look at. I would like to improve the layout.
Like that. When this happens, copy all of it and just tell the AI, like below. It will put them on the board for you.
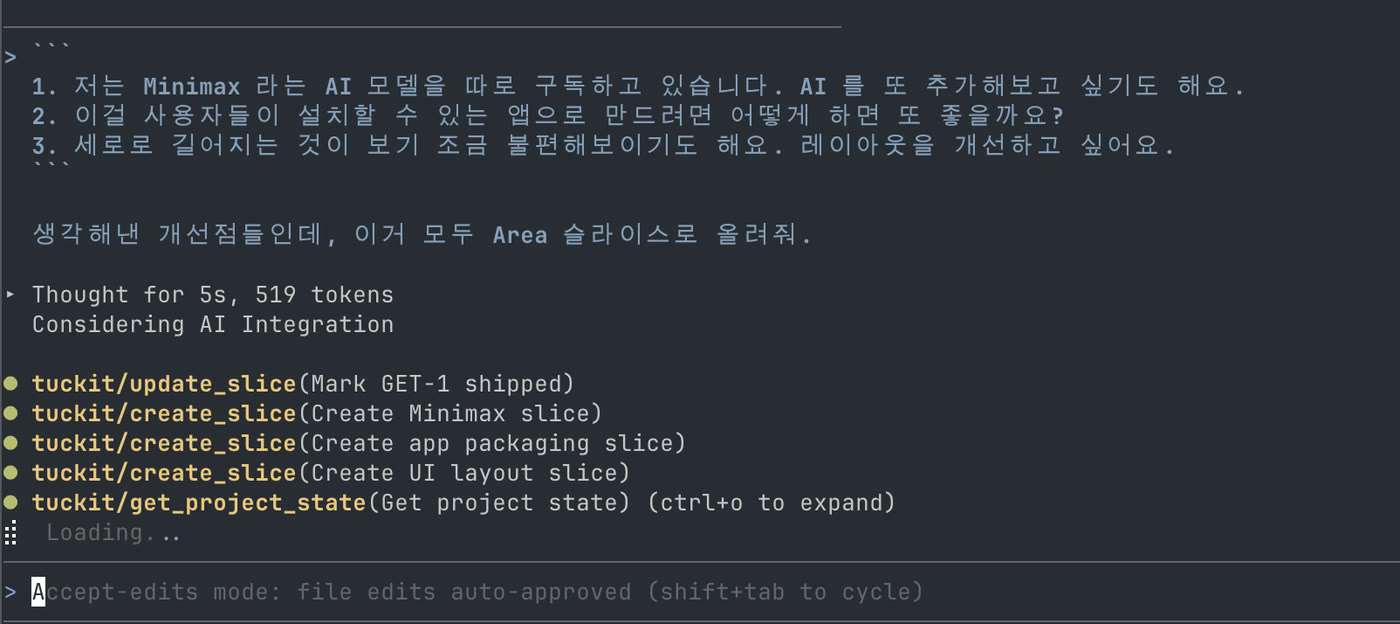
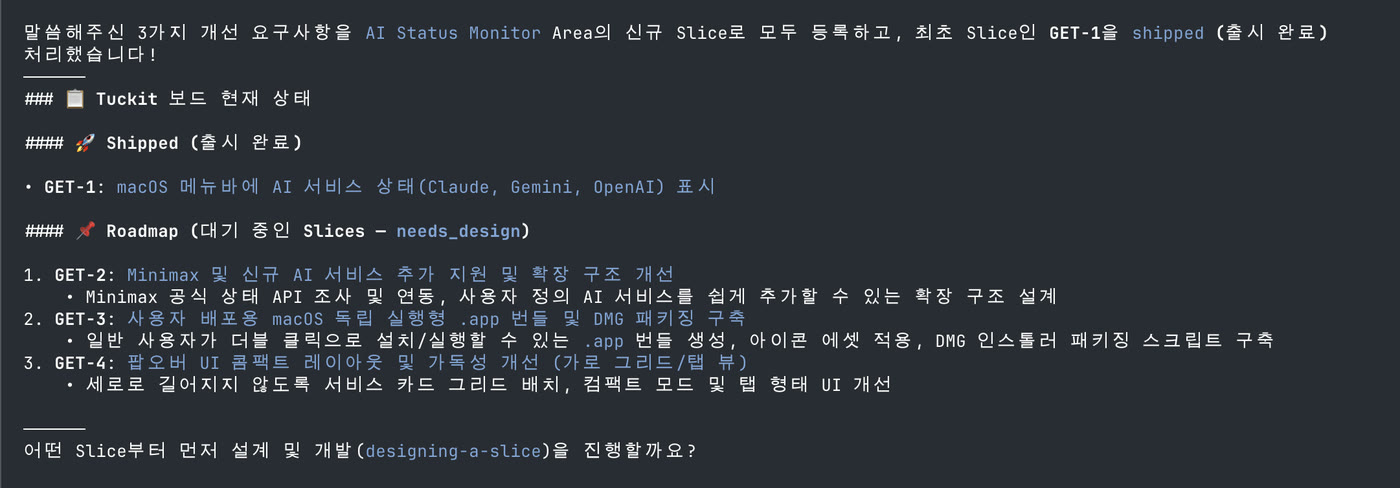
Shall we check?
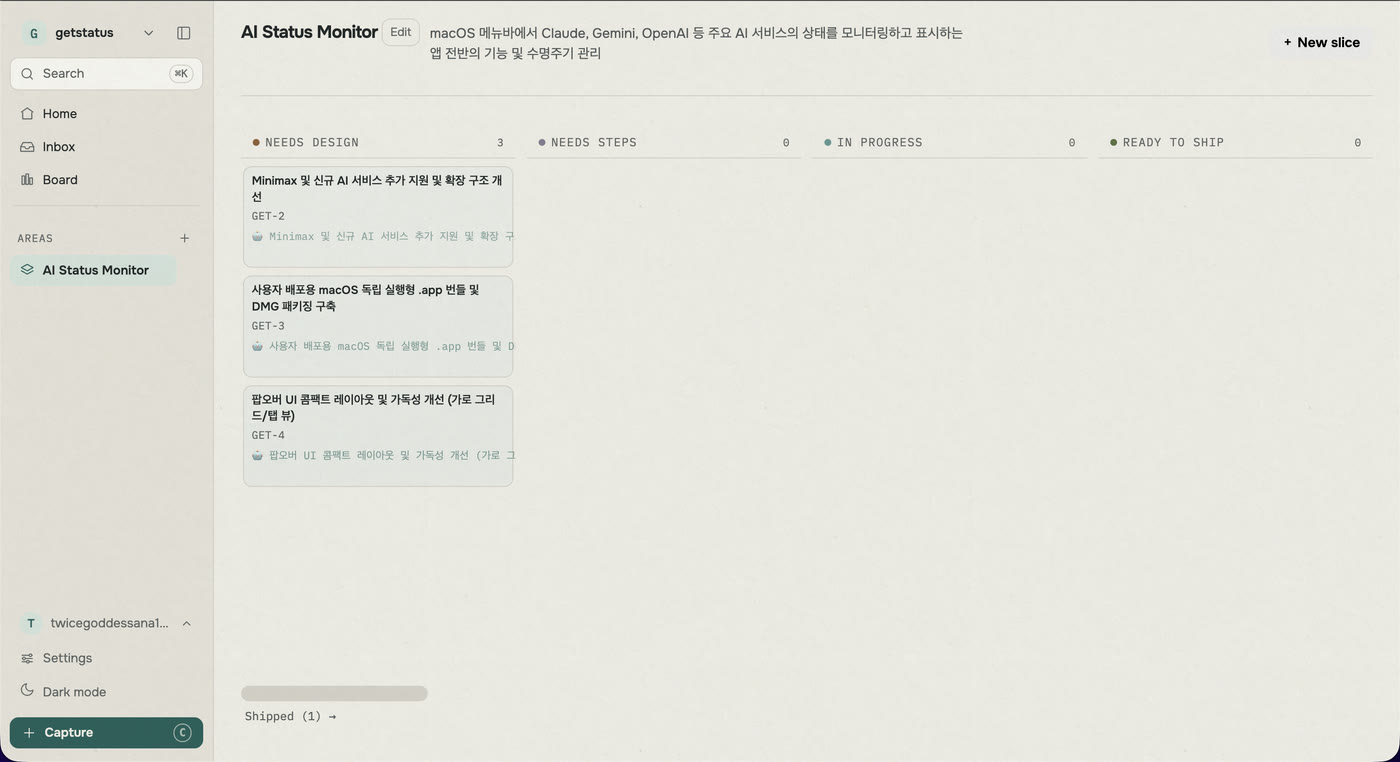
Lovely. Whatever follow-up the AI suggests, whatever we want ourselves, we write it down so it does not get lost and hand it over later.
Opening a slice and copying from the prompt box at the top right is even easier.
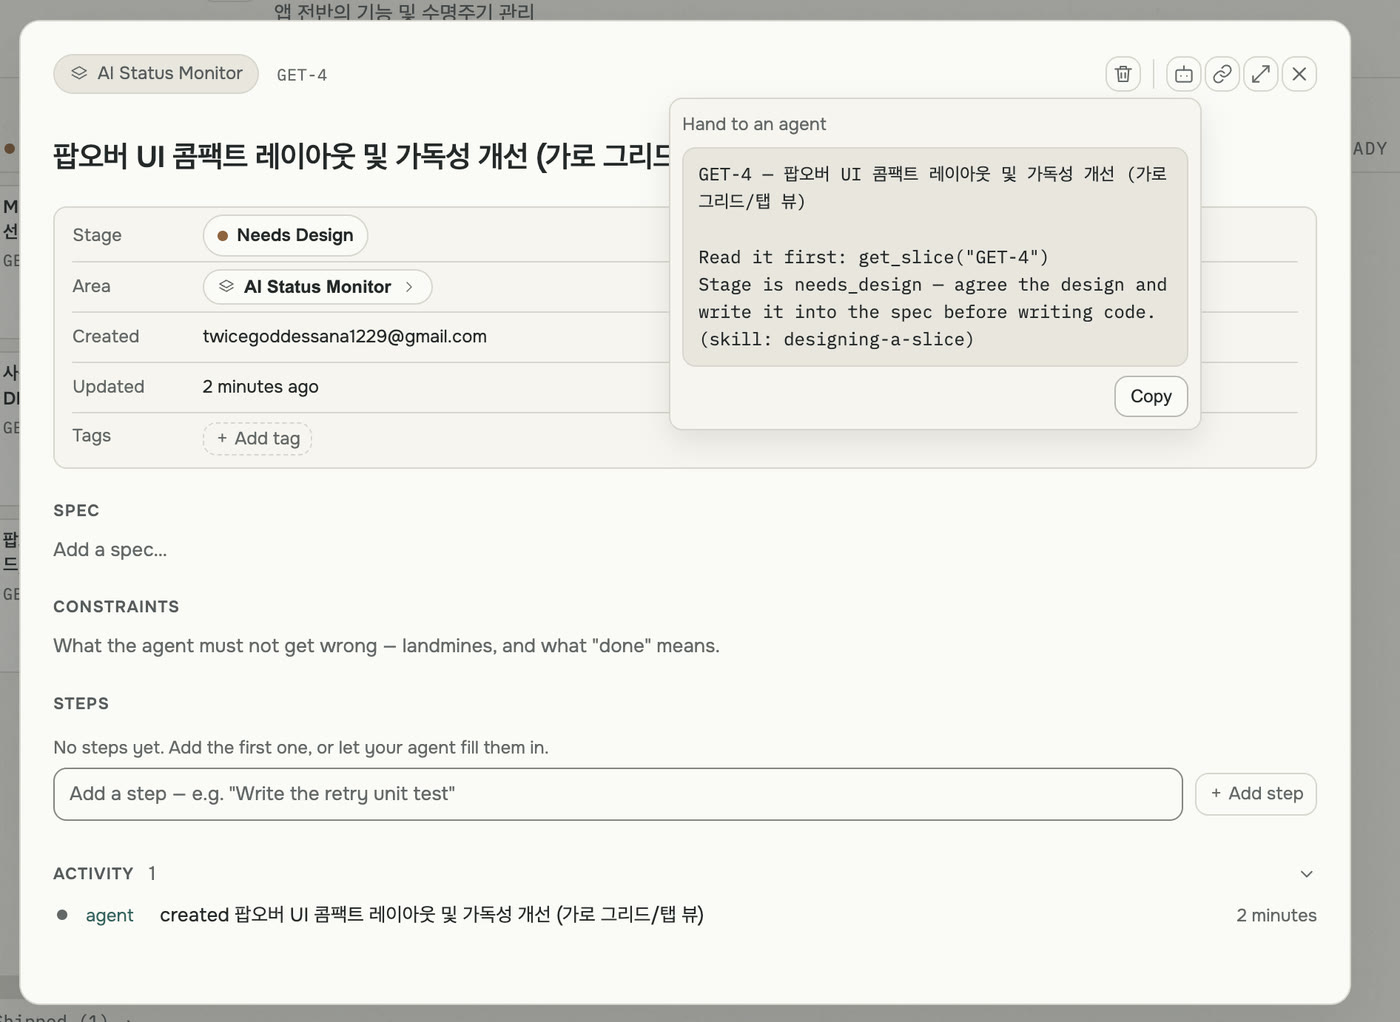
Wrapping up..
That is how you keep a project managed, no matter which agent, or how many people, are working on it.
Looking back, I barely did anything today. I made a folder, wrote a paragraph about what I wanted, and picked from a few options. The design, the checklist and the done marks were all written by the agent. I just read them on the web.
But there was exactly one place I did not hand over. The agent reported "all 8 tests passing, build successful", and the board took itself all the way to READY TO SHIP. Then I actually opened the app and it died on launch. If I had trusted that report and moved it to shipped, my team would have believed it was finished. That is why the earlier columns in tuckit are derived automatically, while the last one is left for a person to press. It is not left there to be annoying. It is left there because that spot belongs to a human.
So do not let the project you built today die. Keep the ideas that come to you on the board rather than in your head or in a chat window, and next time open any agent at all and say "let's do the next one". That agent will know nothing about the conversation we had today, but it can read the board.
- Using a different agent: Claude Code and Codex connect to the same board. See connect your agent.
- Completely new to this: the quickstart takes about ten minutes.
This post was written by hand, not by an AI. No, really.
Next time I will bring in the program I am building with tuckit right now, and show you how a project gets set up from scratch.